What are Abyssal Dungeons in Lost Ark
In Lost Ark, Abyssal Dungeons are the core content that you will complete each week for valuable rewards such as gold, jewelry, ability stones, engraving books, as well as materials used to craft your first dungeon armor and weapon set.
The Ancient Ruins of Elveria are the first set of Abyssal Dungeons you will encounter, becoming available at 340 item level. Here is a quick guide to all the bosses in the Ancient Ruins of Elveria.
Before you start, make sure you have an adequate supply of HP (% Recovery) Potions, as those are the only potions that can be used in this area. You’re also going to be limited to five potion uses per boss encounter, so use them wisely! The large abundance of 30% HP Potions you might have will be plenty of recovery for this dungeon.
Path 1: Demon Beast Canyon
Corrupted Vazuela boss mechanics
This is the first boss you will encounter in the Ancient Ruins of Elviria. Corrupted Vazuela doesn’t have many attacks and mechanics, but he hits quite hard if you do manage to get caught in them. Ensure that you’re paying adequate attention to the red telegraphs on the ground! Here are some of the attacks and mechanics you should keep track of.
Rollout
Corrupted Vazuela will roll forward and knock up whoever is hit by it. This attack is counterable.
Leap Attack

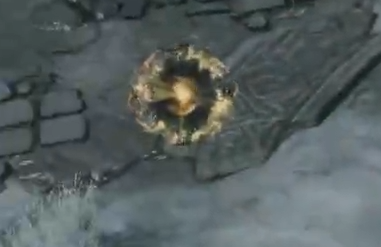
Corrupted Vazuela channels and leaps into the air, crashing down onto an area and dealing heavy damage. After crashing down, a wider area around where he landed will also explode, dealing heavy damage. This attack may seem tricky to dodge, but the initial location where he landed will be a safe zone. If you don’t think you can dodge far enough outwards to avoid the second attack, try dodging inwards.
Blood Explosion

Corrupted Vazuela starts channeling, then explodes in a nova of blood around him. This attack is quite slow, so it should be fairly easy to dodge with a combination of movement skills and your spacebar dash.
Pool of Blood


Corrupted Vazuela will start channeling for a few seconds and mark a player. At the end of the channel, a Pool of Blood will spawn at the marked player’s location. This Pool of Blood does moderate damage over time and lingers on the map.
When you are marked, run to the edge of the map and drop the Pool of Blood there. This way you can keep the middle of the arena free to dodge Corrupted Vazuela’s AoE attacks. Don’t drop the Pools of Blood in the middle of the map so that people need to stand in it to deal damage.
Downing the boss (via staggering it or countering it) will cause all the blood pools on the map to disappear.
Vile Scarkrill boss mechanics
This is the second boss you will encounter in the Ancient Ruins of Elviria. Vile Scarkrill doesn’t have many mechanics either but can interrupt a lot of abilities with his large amount of CC. Ensure that you’re paying adequate attention to the red telegraphs on the ground! Here are some of the attacks and mechanics you should keep track of.
Fling

Vile Scarkrill will swing upward and fling whoever is hit. This attack is counterable, but it is very fast and does not have a range indicator. Counter it from range or just dodge it.
Mine Attack

Vile Scarkrill will raise his arms and slam down, summoning mines on the ground. Being hit by these mines will knock up and interrupt any abilities being cast.
Large Cone Slam

Vile Scarkrill starts channeling, then slams down in a very wide cone in front of him. This attack has a long channel time, so it should be fairly easy to dodge with a combination of movement skills and your spacebar dash.
Double Cone Attack
Vile Scarkrill starts continuously channeling, firing two cones of dark energy on each side of him for the duration. This leaves his back and head exposed for a long time, so it is a good opportunity to deal significant damage as a melee class.
Orb Mechanic
Vile Scarkrill will shroud the map in darkness and summon four orbs in the four cardinal directions (roughly) once he gets six stacks of a buff that can be seen under his HP bar. However, because these stacks take time to accrue, this mechanic can be skipped if the party has enough DPS!
These orbs will explode when hit by Vile Scarkrill, downing him if he gets caught in the explosions of all four of them. The objective of this mechanic is to lure Vile Scarkrill to each of these orbs and make him break them with his attacks.
Ensure that you move with the party when he goes into this orb phase, don't lure the boss away from the orbs.
Path 2: Necromancer’s Origin
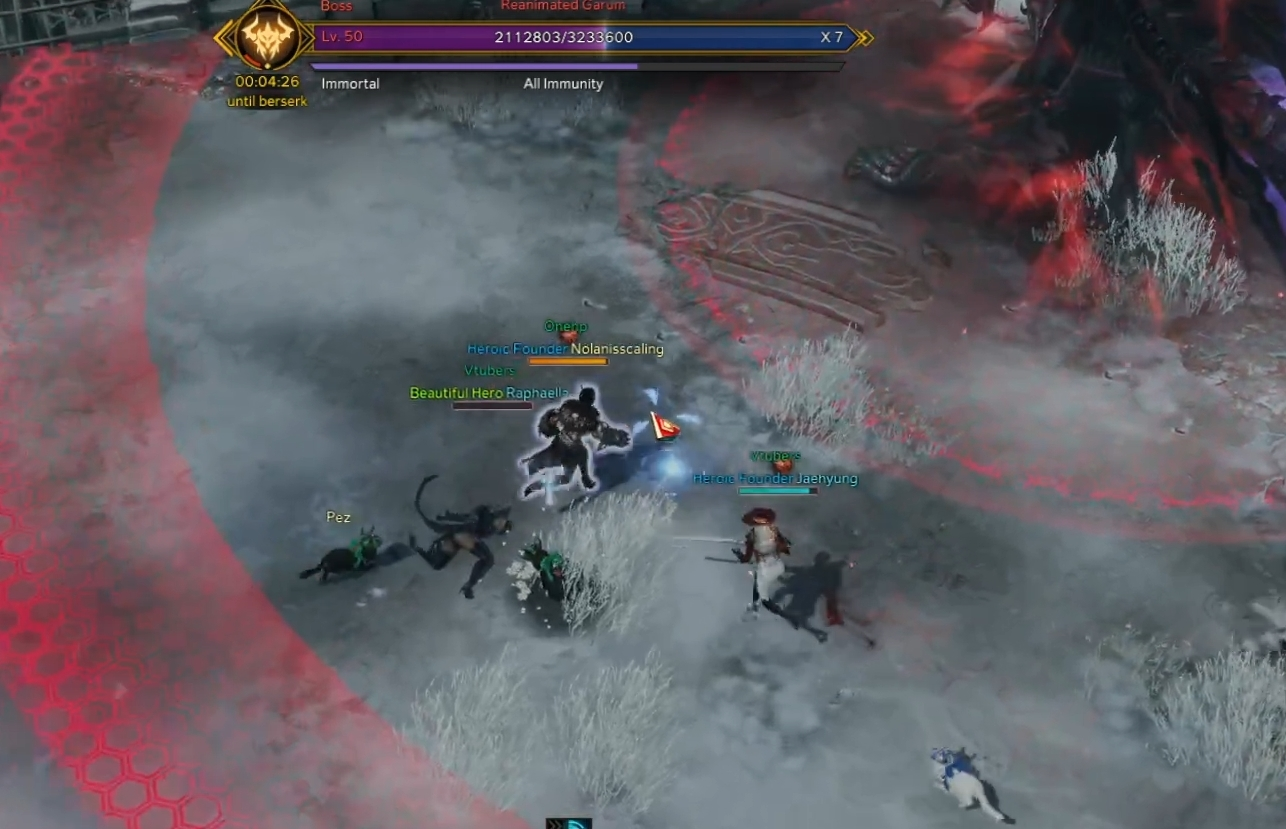
Reanimated Garum boss mechanics
This is the third boss you will encounter in the Ancient Ruins of Elviria. Reanimated Garum is the first boss in Elvira with a “wipe” mechanic, so pay close attention! Ensure that you’re paying adequate attention to the red telegraphs on the ground! Here are some of the attacks and mechanics you should keep track of.
Slam Attack

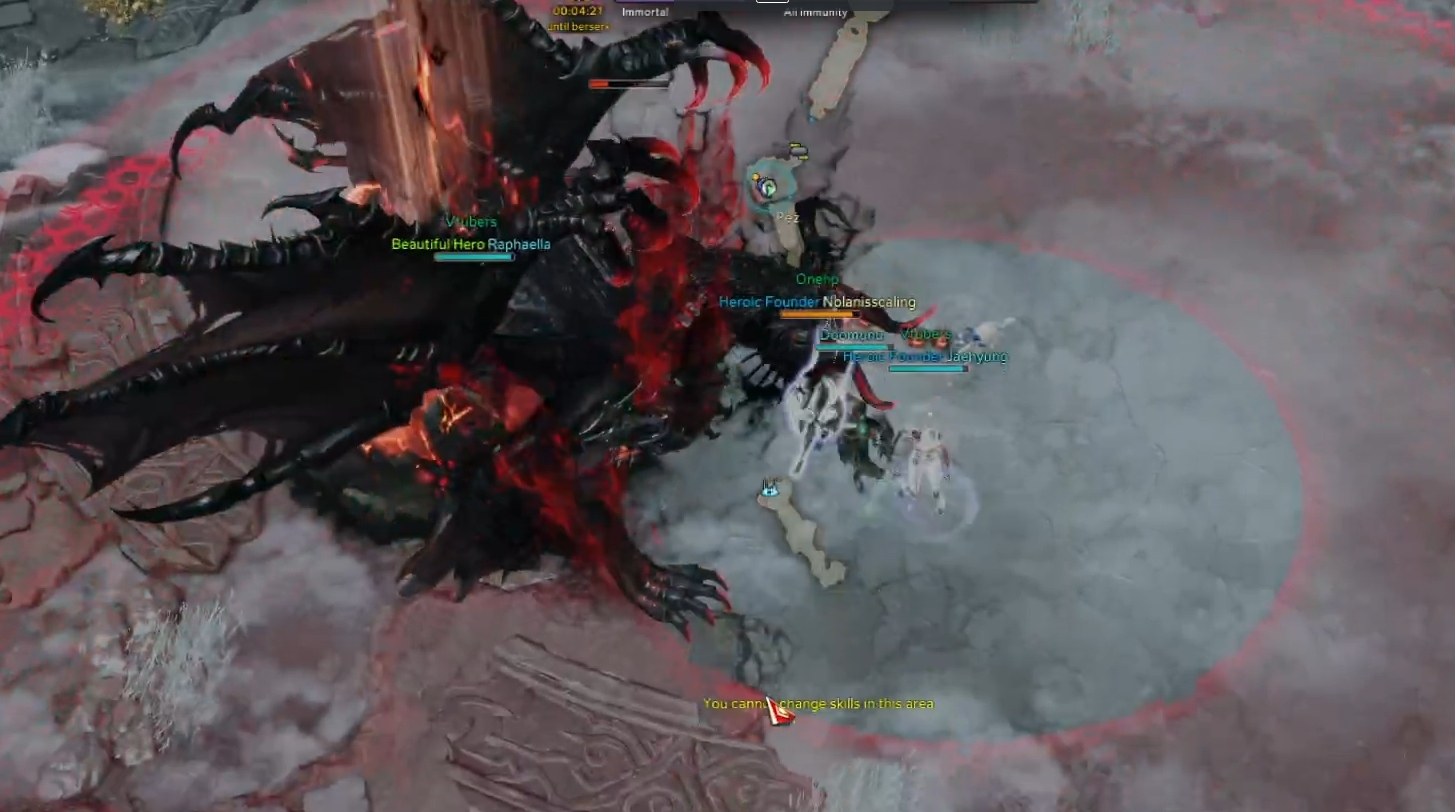
Reanimated Garum winds up and slams his claw down, dealing damage in an area. After a short delay, the area around where he attacked also explodes. Similar to Corrupted Vazuela from Demon Beast Canyon, the location where he slammed will be a safe zone. If you don’t think you can dodge far enough outwards to avoid the next attack, try dodging inwards. This attack is counterable.
Inverted Donut Attack
Reanimated Garum starts channeling, after a delay he’ll hit all players close to and far away from him. This pattern is almost the complete inverse of the second part of his slam attack above, so the safest location is about mid-range from him.
Tail Swipe
Reanimated Garum swipes his tail, then winds up and swipes his tail again in a wide cone behind him. The second tail swipe is quite slow, so you should be able to dodge the second swipe quite easily. Both tail swipes will interrupt attacks, so it is crucial you try to avoid this as best as you can as a melee class.
Double Cone Attack


Reanimated Garum starts channeling, firing two cones of dark energy on opposite sides of him after the channel. These can either be emitted in front and behind him, or to both sides of him. The latter pattern leaves his back and head exposed for a long time, so it is a good opportunity to deal significant damage as a melee class.
Roar Attack

Reanimated Garum starts channeling, then roars in a nova around him. This attack is quite slow, so it should be fairly easy to dodge with a combination of movement skills and your spacebar dash.
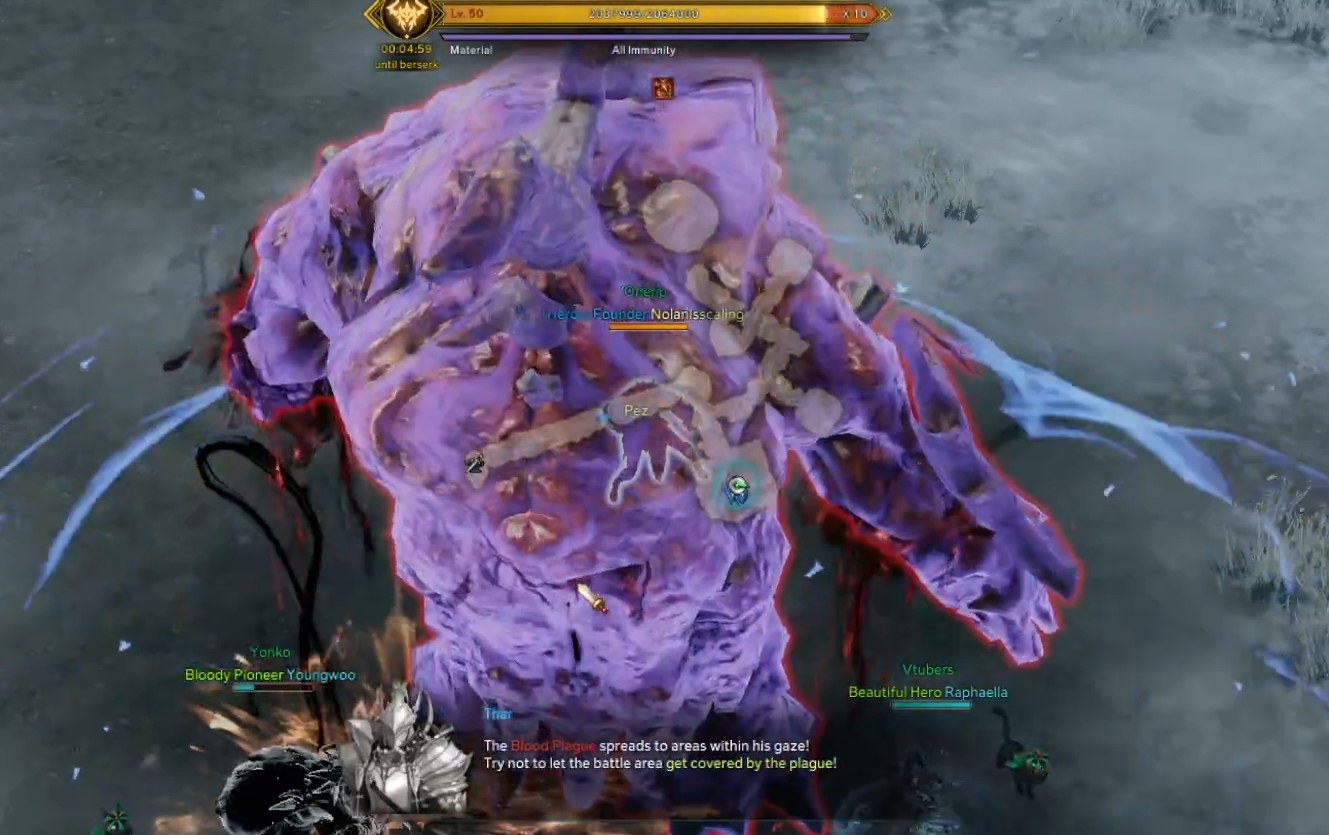
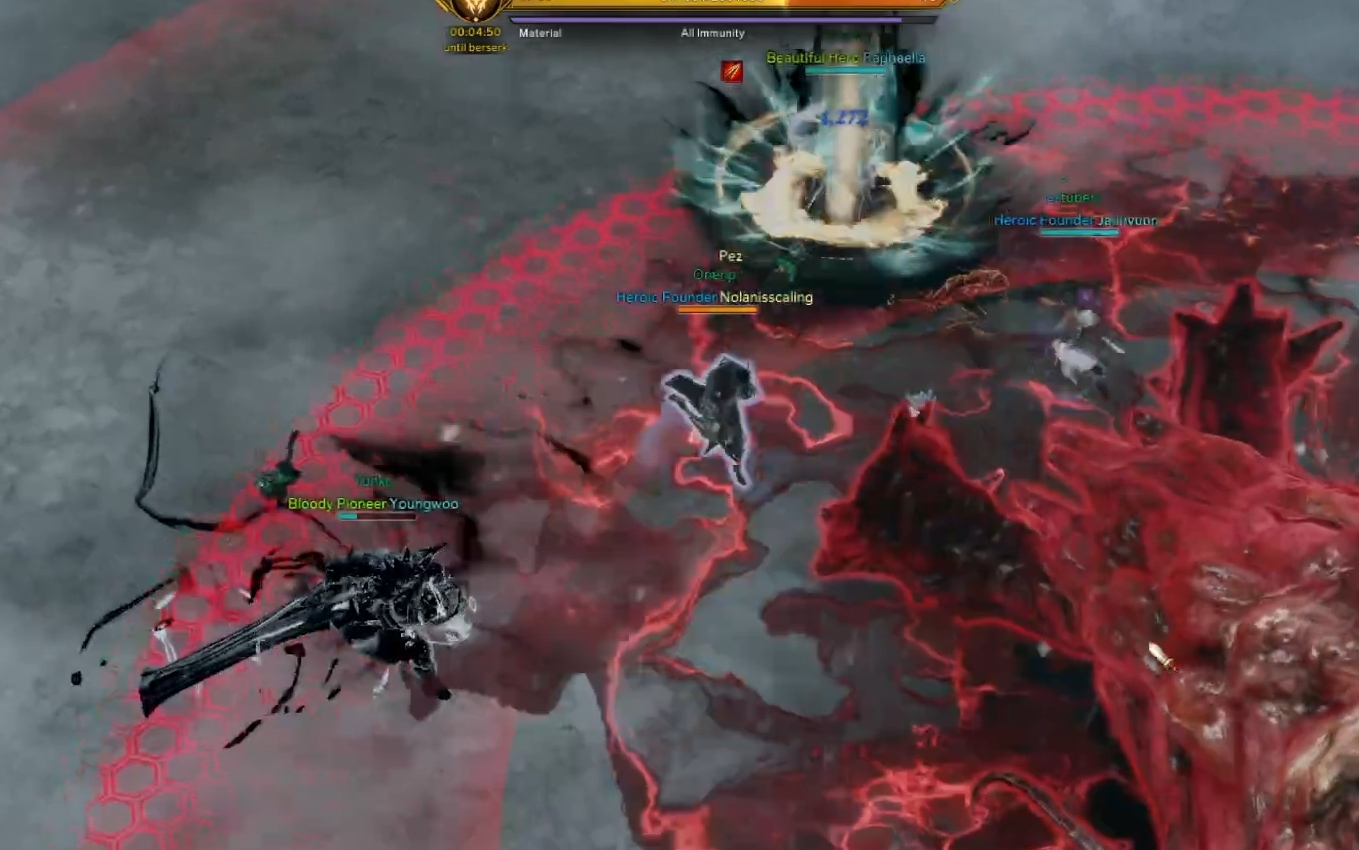
Death Gaze Mechanic
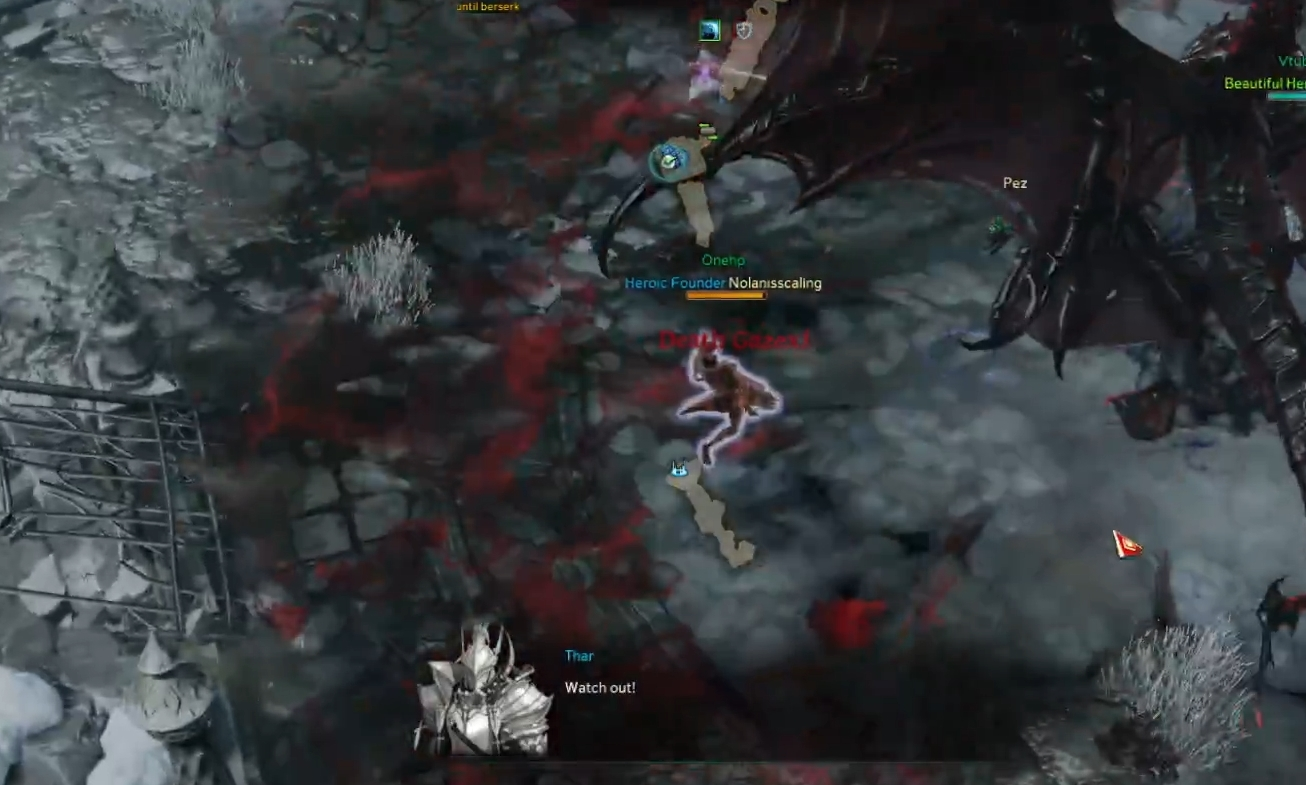
Garum will occasionally roar, knocking nearby players back and inflicting a curse debuff called “Death Gaze” onto all players. This debuff stacks up to 4 times, killing the player once they’ve accrued 4 stacks. Occasionally, a golden orb will spawn that will remove all the debuff stacks off of the player that picked it up.
Players should pick up the golden orb in order by party number; you can see what number you are (1, 2, 3, or 4) by looking at what number is on your HP bar on the left. DON’T TAKE THE ORB WHEN IT’S NOT YOUR TURN. Taking an orb when you shouldn’t will cause the person with 4 stacks to die when Garum roars for the fifth time.
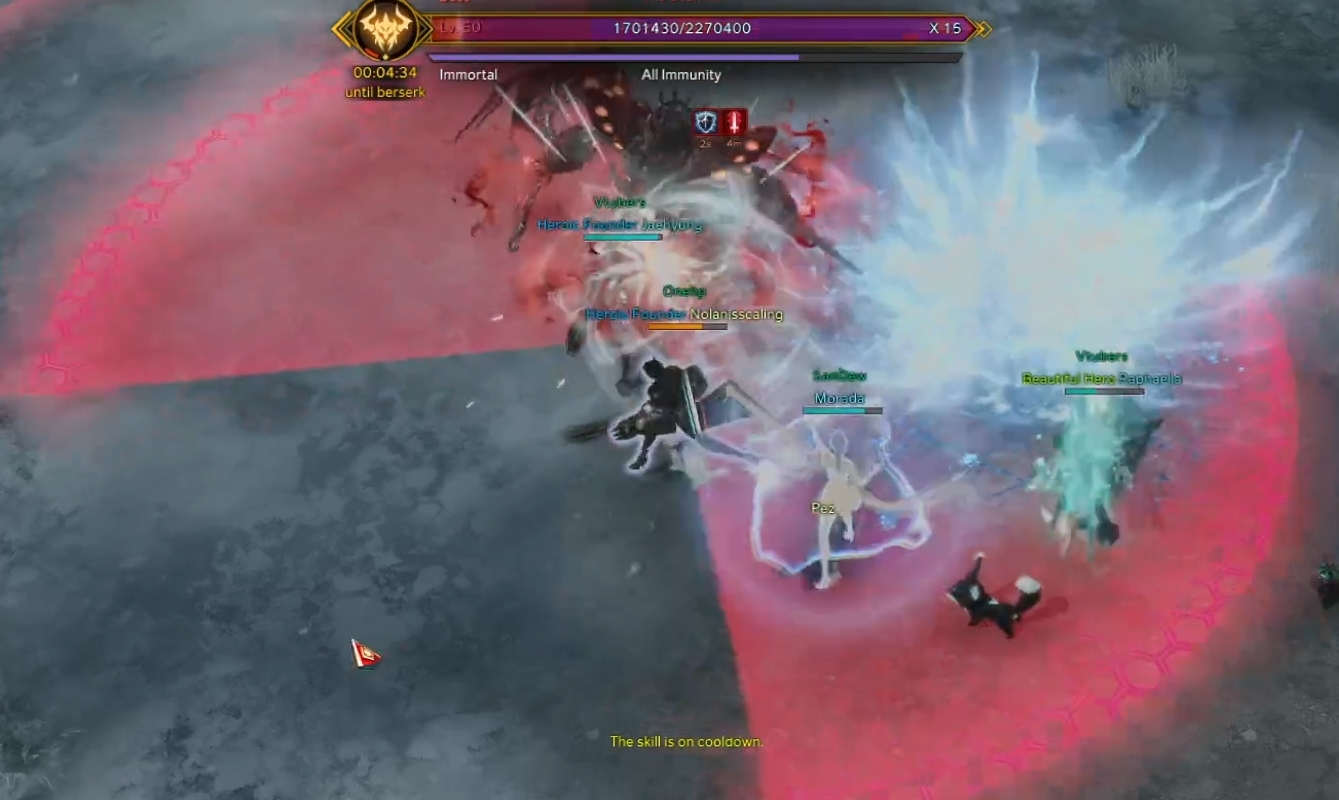
Sigmund the Immortal boss mechanics
This is the last boss you will encounter in the Ancient Ruins of Elviria. Sigmund the Immortal has a lot of large aoe attacks with very strict safe areas, so make sure your positioning is on point! This boss has multiple raid wiping attacks, as well as a mechanic that requires complete team coordination. Ensure that you’re paying adequate attention to the red telegraphs on the ground and to the color of the wave he emits when he dies! Here are some of the attacks and mechanics you should keep track of.
Assign positions before the boss, this will help the party complete the mechanic easier.
Swirling Aura

Sigmund the Immortal channels a swirling aura that will damage and knockback whoever gets caught in it. This is an easy attack to avoid initially, but the aura will persist for a duration. Don’t walk back into it and attack without push immunity or the attack will get canceled.
Raid Wipe Stagger Check

Sigmund the Immortal channels a giant raid wiping AoE attack. You must successfully stagger him before he finishes channeling to stop it. Failure to stagger him before he channels will result in a raid wipe.
Donut Attack
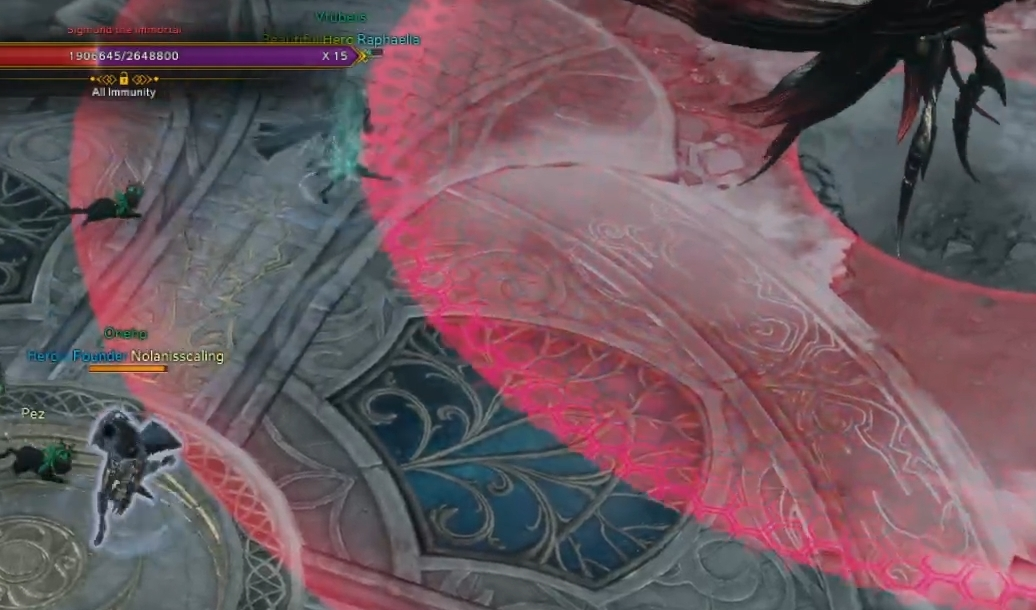

Sigmund the Immortal channels a giant AoE attack around him. There is a safe spot directly next to him, try running back closer to him to prepare yourself for the second variation of this attack. This attack does significant damage and will one-shot most party members. Avoid getting hit at all costs.
The second variation of this attack covers the entire arena except for the safe spot under him, this means you MUST RUN NEXT TO HIM or you will take heavy damage.
Meteor Attack

Sigmund the Immortal drops meteors targeting each player, these deal moderate damage and fall quite slowly. One of the spheres will explode into a nova of projectiles that deal the same damage again.
Cone Wave Attack

Sigmund the Immortal starts channeling, then fires a wave in a very wide cone in front of him. This attack has a long channel time, so it should be fairly easy to dodge with a combination of movement skills and your spacebar dash.
Orb Mechanic
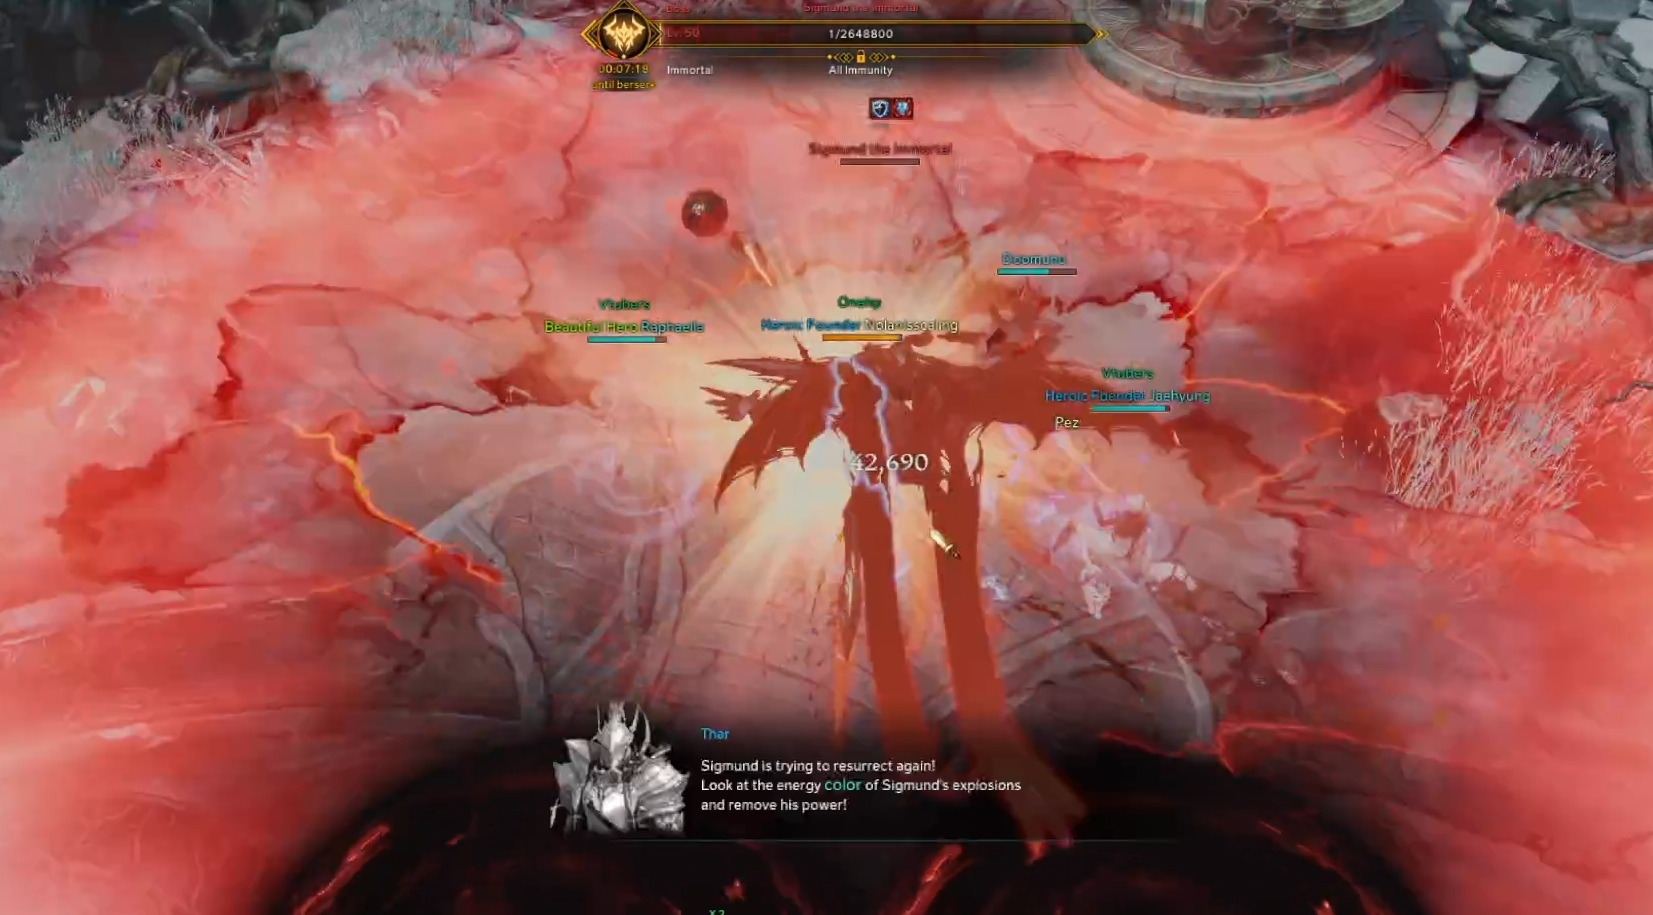
When Sigmund the Immortal dies, he’ll release a colored wave and spawn 2 orbs in each cardinal direction, so each player should head to the position they were assigned. All 4 players have to collect the orb matching the color of the wave he released. He’ll regenerate back to full plus additional bars for every person who collects the wrong orb, but will regenerate with less health bars if everyone collects the correct orb. This mechanic occurs until he has no more health bars to resurrect himself with.
Every time he resurrects he will deal more damage, so try and end this fight as quickly as possible.
Thanks for reading our guide to the first Abyssal Dungeon, Ancient Ruins of Elviria!
Lost Ark class guides
Paladin guide
Scrapper guide
Shadowhunter guide
Striker guide
Wardancer guide
Lost Ark general guides
10 things you need to know before you play Lost Ark on day 1
The best classes and specializations for new Lost Ark players
A beginner's guide to Lost Ark: Leveling, class synergies, and Knowledge Transfer
How to unlock and use the Power Pass to boost a new character to max level
Lost Ark Database
Map library
Nautical map
Rapport
Skills
Skill Simulator
Items
Crafting
Cards
Sailors
-

Plays a lot of Shyvana and Scrapper. Has great hair.
Sort by:
Comments :0