1. 1st Named Boss: Key Pattern Strategies
You only need to know three main patterns for 'Lothar,' the first named boss you encounter upon entering Transcendence.
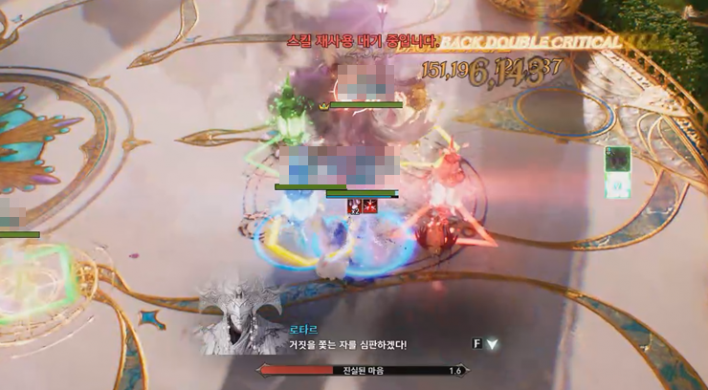
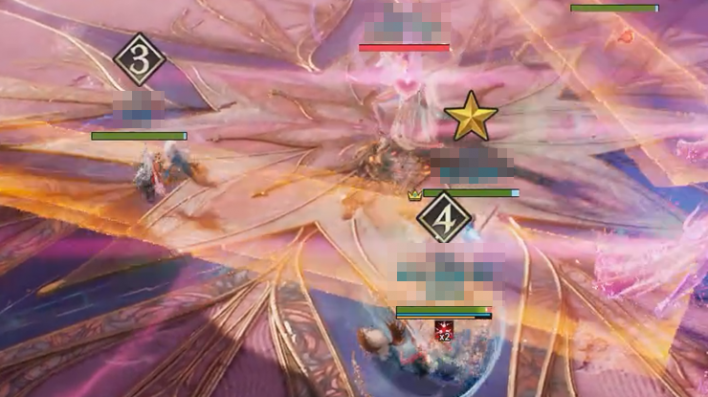
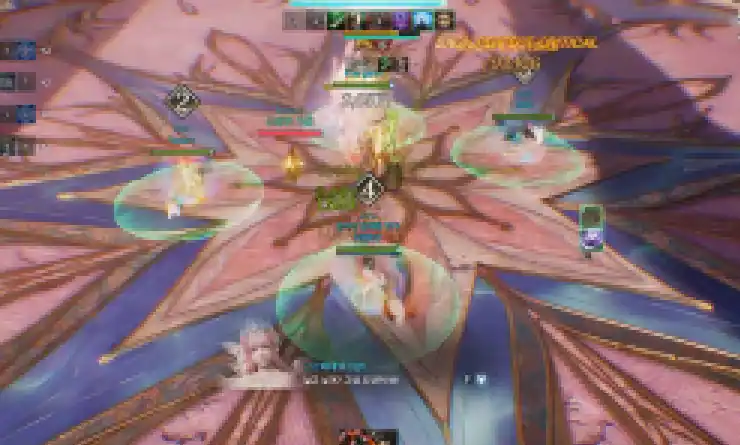
■ True Heart (Shape Matching Pattern)
- During the fight, colored shapes will suddenly appear on each party member and at random locations on the floor
- Move to the location matching the color of the shape on your character to avoid taking damage
- You have a very short window of about 2.5 seconds, so stay alert and watch the floor closely
■ Conflicted Heart (Shape Destruction Pattern)
- After the boss moves to the center, colored shapes appear on each party member
- You must find and destroy the shape that matches your own
- Until the shape is destroyed, the party member linked to it will take continuous damage
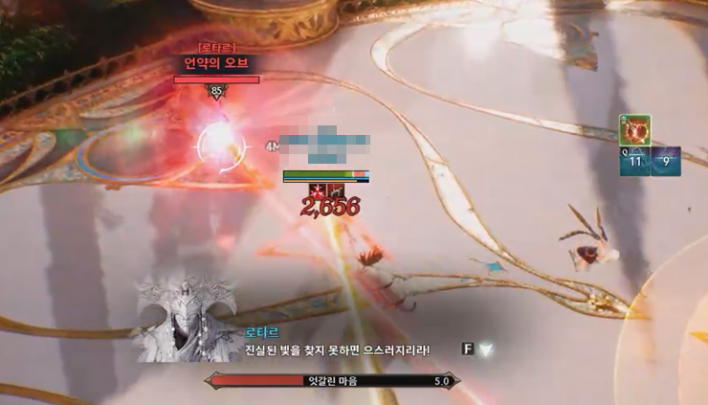
■ Path to Kromede (Orb Destruction Pattern)
- Connects two lines to one party member with the line, 'I will not allow you to pass to Kromede'
- The linked player takes continuous damage and cannot destroy the orbs themselves
- Have other party members destroy the orbs
2. Save time by grouping mobs
Unlike other Transcendence dungeons, the Mirror of Red Affection has a tighter time limit than you might expect. If you hesitate or wipe on a boss, you will quickly see the timer ticking down toward single digits.
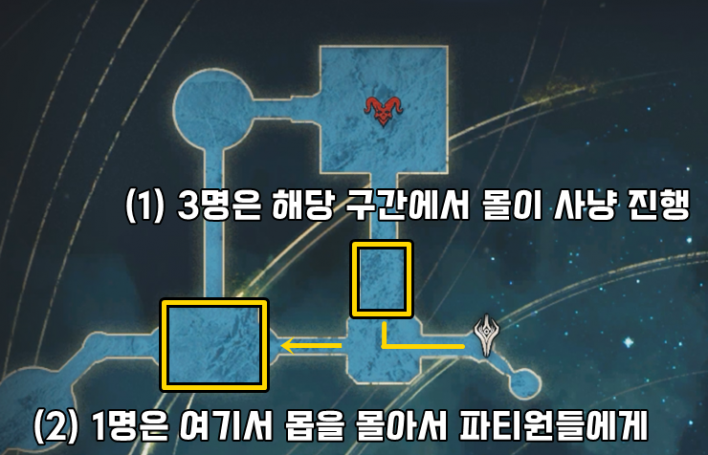
To save time, it is essential to master the mob-grouping sections. On Difficulty 4, you must defeat 180 mobs; if you don't group them and proceed sequentially, you will waste time on unnecessary movement.
This grouping section is just before reaching the 2nd named boss. Three party members should round up the monsters in the small plaza and drag them to the entrance of the 2nd boss to defeat them, while the remaining player goes straight ahead to pull the monsters from the wider area on the stairs toward the group. This allows you to hit the 180-kill count immediately after defeating the 2nd boss without extra backtracking.
3. 2nd Named Boss: Key Pattern Strategies
You only need to know two patterns for the 2nd named boss, 'Robstino'.
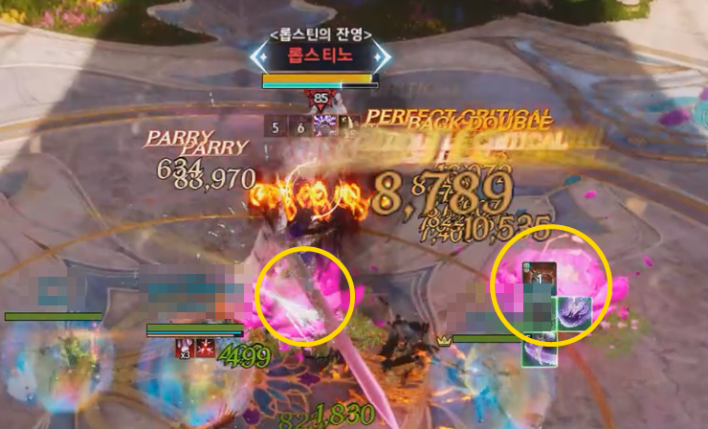
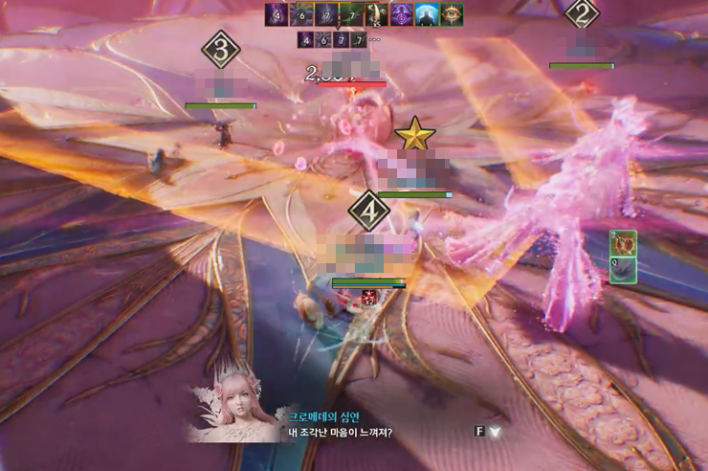
■ Avoid & Clear Pink Flowers
- Touching the pink flowers that appear on the floor will cause them to explode after a short delay (cannot be blocked)
- They deal heavy damage, so move away immediately if two or more overlap
- Creates a circle that must be soaked by one or two party members, accompanied by the line, 'Watch from right there'
- The explosion removes flowers within the range, so head toward areas with many flowers
- However, if two players with circles overlap, they may die, so use your judgment to stay apart
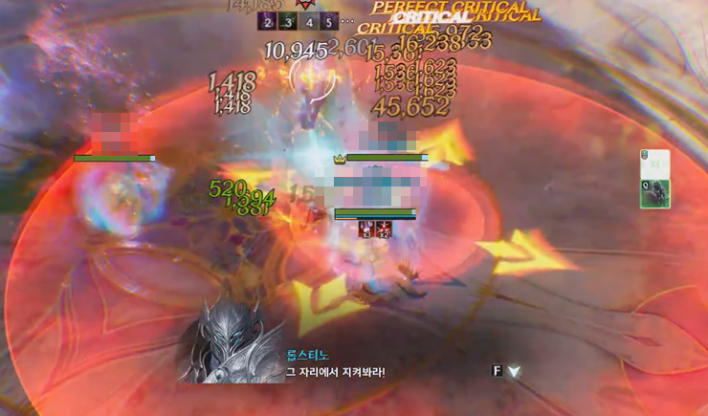
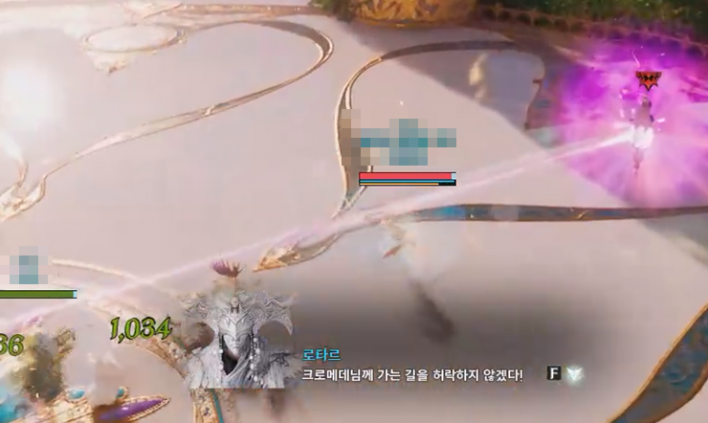
■ Path of the Sword (AoE Placement Pattern)
- Targets one player and charges at them with the line, 'The path of the sword to protect Kromede'
- It then creates a large zone of continuous damage in the direction it was facing
- It won't kill you instantly, but it clutters the battlefield, so try to place it on the side
- This is used about twice during the fight
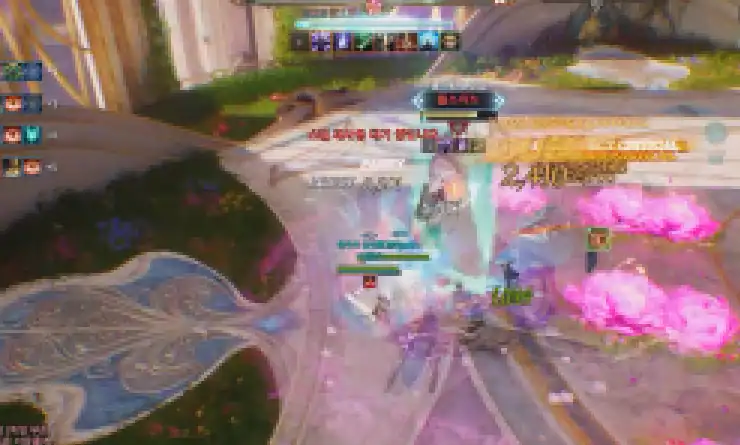
3. Manage your stamina on the way to the 3rd named boss!
After clearing the 2nd boss, you will pass through the 'Path of the Vow' where walls and projectiles approach. If you spam the dodge key to move, you may run out of stamina when you actually need to dodge, so try to press the dash key only once to manage your stamina.
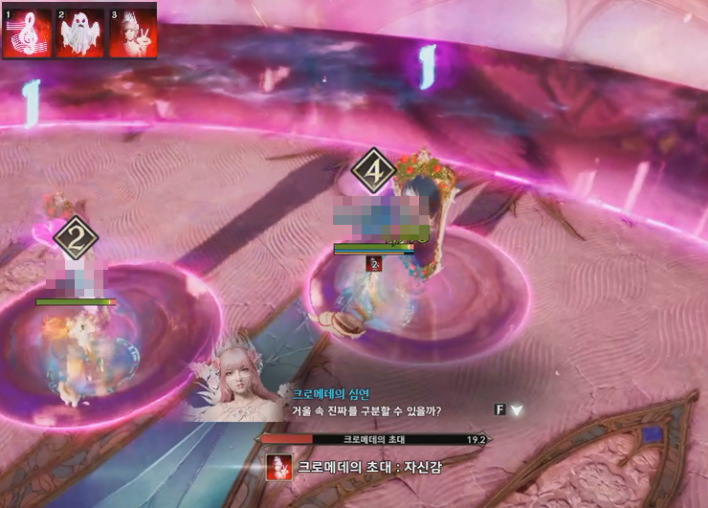
4. Before entering the 3rd named boss, marking the order is recommended
During the 3rd named boss 'Kromede's Abyss' patterns, there are mechanics that require grouping up and others that require passing through hearts in a specific order. Therefore, marking the order (e.g., ★, 2, 3, 4) before the fight helps significantly. Using 1, 2, 3, 4 can be confusing during the grouping pattern, so using symbols like a star is recommended.
5. 3rd Named Boss: Key Pattern Strategies
The 3rd named boss, 'Kromede's Abyss', requires mastering seven key patterns.
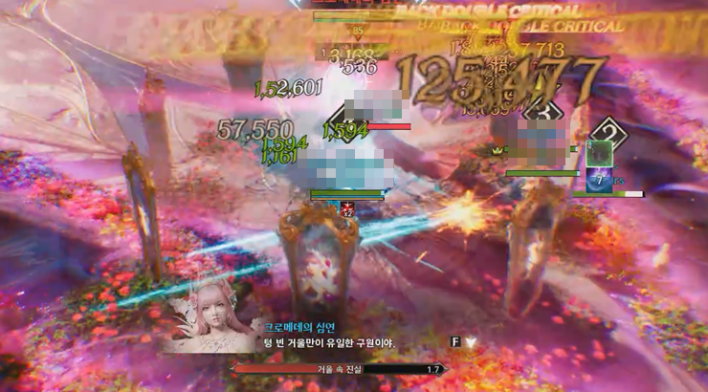
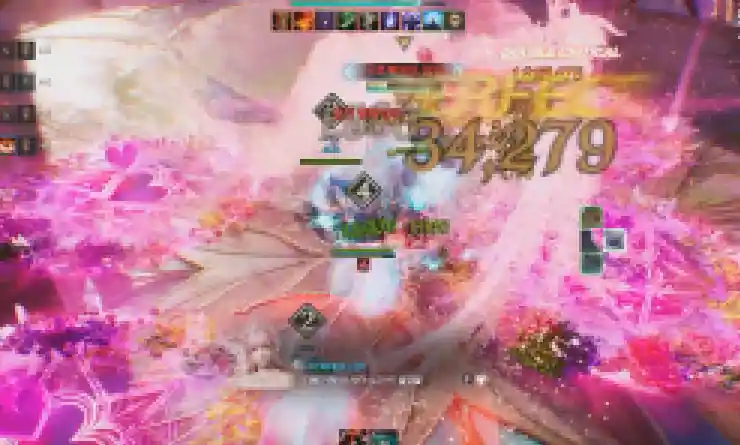
■ Heart AoE (AoE Placement Pattern)
- Kromede spins in the air and prepares to place AoEs on each party member along with explosion zones
- Scatter outward so the explosion ranges do not overlap, allowing you to continue dealing damage
- The AoEs disappear quickly, so you don't need to overlap them precisely; just placing them reasonably is fine
■ Kromede's Invitation (Mirror Clearing QTE Pattern)
- When Kromede's HP reaches about 70%, she moves to the center and creates a large number of mirrors
- You must enter all mirrors and perform button actions to clear them within about 25 seconds; failure results in a wipe
- All skills are disabled; key 1 becomes 'Note', key 2 becomes 'Ghost', and key 3 becomes 'Kromede'
- The mirrors rotate and randomly display one of the three images; you must press the corresponding key to succeed
- Incorrect inputs result in minor AoE damage
- The time is much tighter than you'd think, so memorize the button positions
- Images only appear on the front of the mirrors, so be mindful of your camera angle
- Note that to clear a mirror, the number of people on the mirror must match the number displayed
- Start by clearing mirrors marked '1' while scattered, then move immediately to cooperate when '2' or '3' mirrors appear
★ If you enter a mirror alone when more people are needed, you will take damage after one rotation, so try to match the required number and don't just stand idle in '2' or '3' mirrors
■ Shield Entry Pattern
- This pattern is used after Kromede's Invitation ends and she recovers from her groggy state
- It is also used after the 'Heart Soaking' pattern mentioned later (total of 2 times)
- Shields are generated at each party member's location; you must enter the shield to avoid incoming projectiles
- If you put the boss in a groggy state while the shield is being generated, the pattern continues as normal
- If you put the boss in a groggy state after the shield is generated, the pattern is interrupted
- Sometimes the shield disappears immediately upon starting for unknown reasons. There are several hypotheses
1. Experience suggests it disappears if placed on top of a Heart AoE
2. Experience suggests it disappears if placed too close to the boss
3. Experience suggests it disappears if a dodge or block triggers
- Failure results in a wipe, but one miss is acceptable
- ★ Gather at the party member with the brand and rotate in the pre-discussed clockwise or counterclockwise direction
■ Fragmented Heart (AoE Placement Pattern)
- Two Kromede clones target two party members and prepare to create AoEs
- Like the Heart AoE, they disappear quickly, so place them appropriately to maintain your deal time
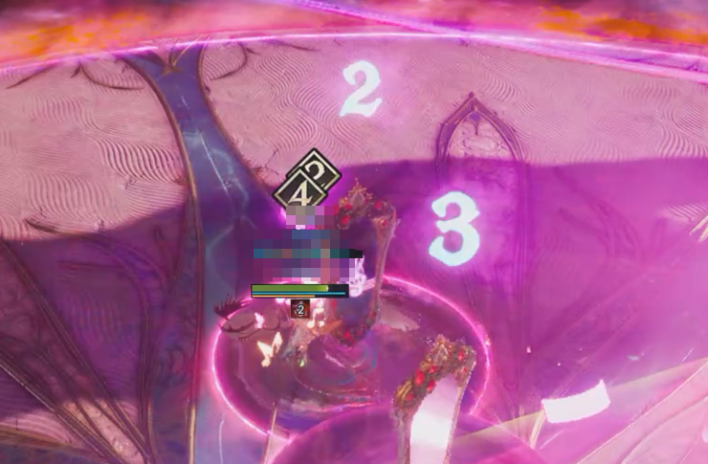
■ Truth in the Mirror (Mirror Finding Pattern)
- A large number of mirrors are created in a circle around Kromede
- Only one mirror has no image on it; you must hide behind that mirror to avoid the AoE attack
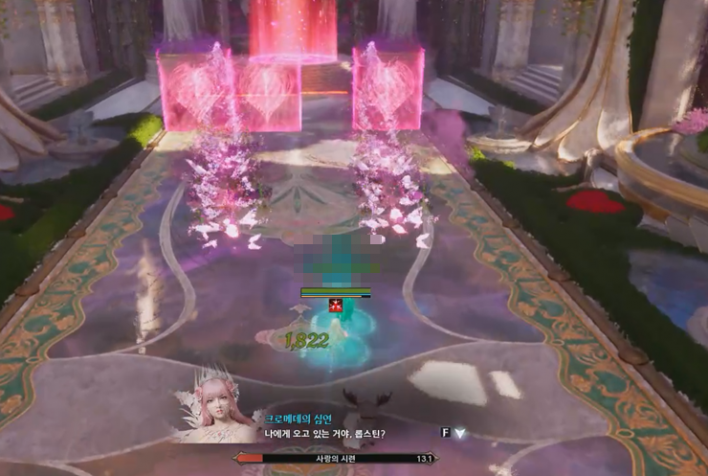
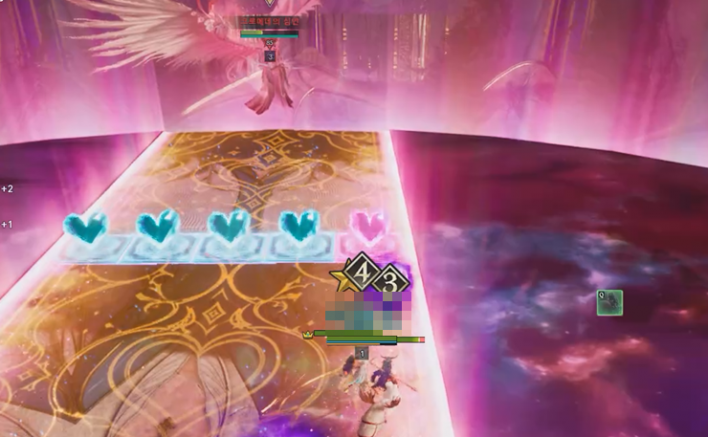
■ Path of Love (Sequential Heart Collection Pattern)
- When Kromede's HP reaches about 40%, the screen goes dark and you move to a race track
- Take turns collecting the approaching hearts and reach Kromede, then neutralize her with a groggy skill
- A person who has already collected a heart will die if they collect another, so party members must take turns
■ Heart Soaking Pattern
- Begins with the line, 'Share this despair I feel'
- Fires a heart AoE at the target furthest from the boss (everyone in range takes damage)
- If the same person is hit by the heart consecutively twice, they die instantly, so take turns maintaining distance to soak the damage
- After firing the heart three times, the final attack requires everyone to gather and soak it together
- It is known that there is a bug where you can die even inside the fourth attack circle if a dodge or block triggers
- A linear attack follows immediately after this, so dodge it (be careful, as it is hard to see)

Sort by:
Comments :0