
LAST EPOCH BEGINNER GUIDE
From Campaign to Empowered Monoliths!
Last Epoch Early Game Progression Guide
Last Epoch Early Game Progression Guide
Progression Overview at a Glance
※ Click each item to jump to that section.
Act 1
Mastering the Basics of Skills, Passives, and Specialization
▼
Act 2
Arrive at The End of Time → Select Mastery
▼
Acts 3–7
Expand Skills, Passives, & Idols → Gear Up & Upgrade Defenses
▼
Act 8
First Major Wall: 'Lagon'
▼
Act 9
Choose Item Faction → Majasa
▼
Act 10
Ancient Era → Major Boss Fights → Late Campaign
▼
Monolith of Fate
Echoes → Stability → Timeline Boss → Blessings
▼
Empowered Monoliths → Defeat First Harbinger
True Endgame Begins
STEP 01
Act 1 - Learning the Basics
When starting the game, simply follow the main quest. Last Epoch clearly indicates the location and direction of quest objectives, so you can complete the main campaign all the way to the end just by following these markers without needing a separate guide.
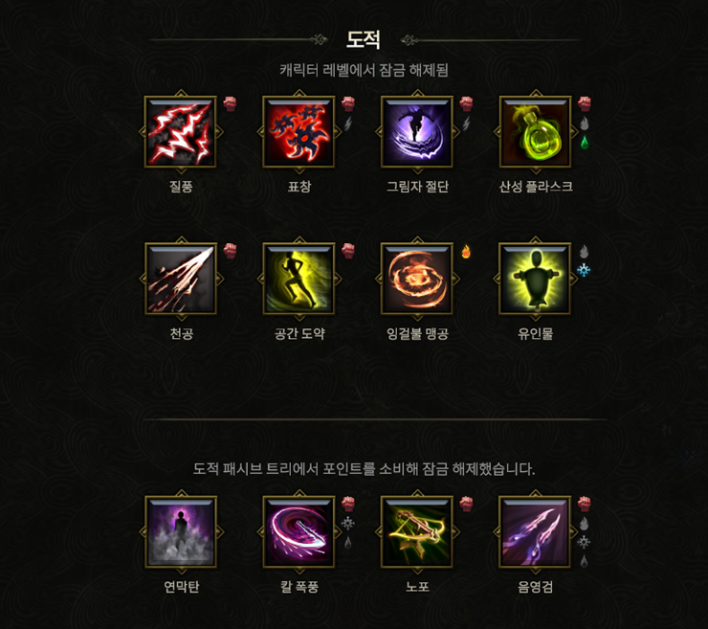
As you level up, new skills and passive points unlock sequentially. Once you reach certain levels, you can specialize in chosen skills to enhance them in various ways.
As you level up, new skills and passive points unlock sequentially. Once you reach certain levels, you can specialize in chosen skills to enhance them in various ways.
Last Epoch features independent specialization trees for each skill, meaning even the same skill can function completely differently in damage type or playstyle depending on which nodes you pick. In the early game, rather than aiming for a fully finished build, it is enough to pick a few main skills to use and see how each skill scales and evolves.
Things to Know at This Stage· New skills unlock sequentially as you level up.
· Spend passive points on your base class passive tree.
· Specialize main skills to level up their dedicated skill trees.
· Spend passive points on your base class passive tree.
· Specialize main skills to level up their dedicated skill trees.
STEP 02
Act 2 - Which Mastery to Choose?
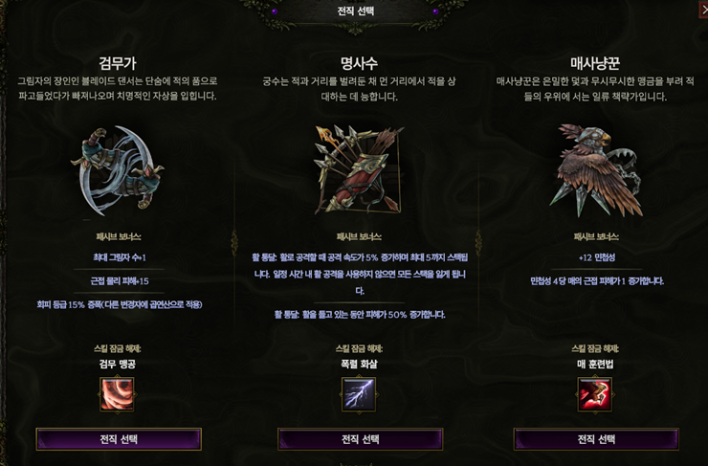
As you progress through Act 2, you will arrive at The End of Time, Last Epoch's central hub. Here, you will choose one of the Masteries available for your base class to specialize your character.
Each Mastery provides unique passive bonuses, passive skill trees, and active skills, so your choice determines the direction of your full build. Unless you are targeting a specific build from the start, choose a Mastery that fits your preferred main skills or combat style.
You can respec your Mastery at any time for gold by talking to Chronomancer Lerenne at The End of Time, so if your initial choice does not suit you, consider changing it early. Note that you must speak to Lerenne specifically at The End of Time, not at other locations.
You can respec your Mastery at any time for gold by talking to Chronomancer Lerenne at The End of Time, so if your initial choice does not suit you, consider changing it early. Note that you must speak to Lerenne specifically at The End of Time, not at other locations.
The Idol system also unlocks at this stage. Idols are equipped in dedicated slots separate from regular gear, providing stats from basic attributes like Health and Resistances to class-specific special effects. As you complete main and side quests in the campaign, your available Idol slots will expand sequentially.
Things to Know at This Stage· Choose a Mastery that suits you at The End of Time.
· Mastery-exclusive passives and skills begin to unlock.
· The Idol system becomes available.
· Check side quests that reward passive points and Idol slots.
· You can respec your Mastery by paying gold to Chronomancer Lerenne at The End of Time.
· Mastery-exclusive passives and skills begin to unlock.
· The Idol system becomes available.
· Check side quests that reward passive points and Idol slots.
· You can respec your Mastery by paying gold to Chronomancer Lerenne at The End of Time.
STEP 03
Acts 3–7 - Building the Foundation of Your Build
After selecting your Mastery, progression involves developing skills while gearing up. As the number of specializeable skill slots increases and you invest more passive points, the core framework of your chosen build begins to take shape.
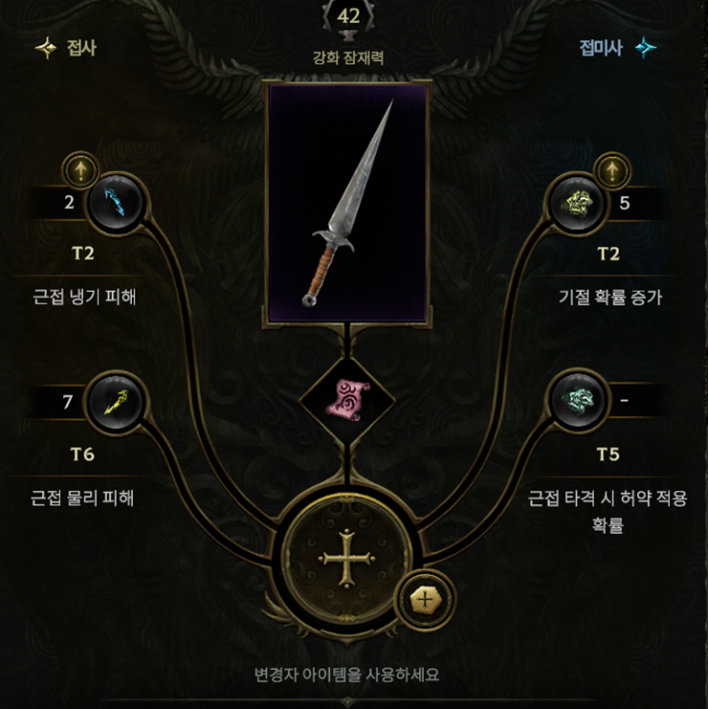
From the mid-campaign onward, get into the habit of identifying affixes that synergize with your main skills and build rather than simply equipping items with higher item levels or rarities. Also, try actively crafting using your affix shards to get a feel for the Forge. While currently strong gear is great, developing an eye for base items that have high crafting potential is even more important.As you push further into the mid-to-late campaign, defensive stats like Health, Resistances, Ward, Dodge, and Endurance become just as critical as offensive stats. Health and Resistances are universally beneficial for most builds, but each build often relies on specific primary defensive mechanics, so identify and upgrade them accordingly.Things to Know at This Stage· Items with higher levels or rarities are not automatically better.
· Develop the ability to spot stats that fit your build.
· Items with potential to become great are just as valuable as currently strong gear.
· Practice crafting to upgrade items and get a handle on the Forge.
· Survival stats matter more in late campaign; identify your build's primary defenses and boost them.
STEP 04
Act 8 - First Major Wall: Lagon
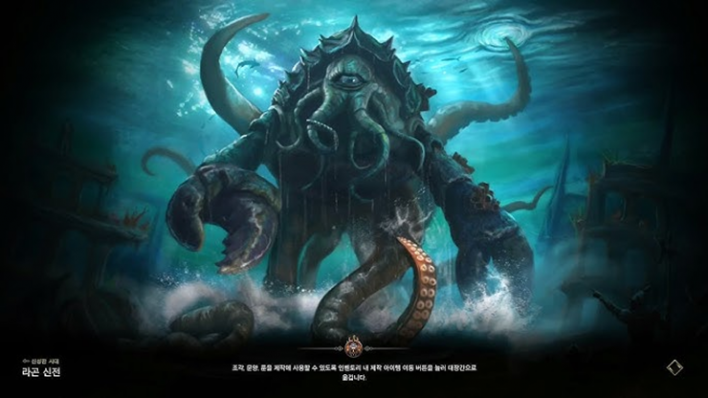
While most of the campaign can be completed smoothly by following the main quest, the Act 8 boss Lagon is often the first major wall for beginners. He frequently uses wide-area, dangerous attacks and requires frequent positioning adjustments to dodge incoming damage.
Standing still to deal damage like you might have done on earlier bosses can result in sudden deaths, so watching for telegraphs and moving to safe zones is essential.
In particular, Lagon's claw slams and sweeping beam attacks hit extremely hard, so master dodging these mechanics.
Standing still to deal damage like you might have done on earlier bosses can result in sudden deaths, so watching for telegraphs and moving to safe zones is essential.
In particular, Lagon's claw slams and sweeping beam attacks hit extremely hard, so master dodging these mechanics.
Stuck on Lagon?① Focus on dodging dangerous AoE attacks rather than trying to tank and deal damage.
② Save your movement skills for quick repositioning when needed.
③ Ensure your defensive stats like Health and Resistances are not severely lacking.
④ Prioritizing survival over raw damage output is enough to win the fight.
② Save your movement skills for quick repositioning when needed.
③ Ensure your defensive stats like Health and Resistances are not severely lacking.
④ Prioritizing survival over raw damage output is enough to win the fight.
STEP 05
Act 9 - Item Factions & Second Major Wall: Majasa
In Act 9, you make your first choice of Item Factions, which heavily impacts how you obtain items and trade. Choosing the Circle of Fortune increases item drop rates and allows you to earn extra loot through Prophecies, but disables trading with other players. On the other hand, the Merchant's Guild allows you to freely buy and sell items with other players and through the Bazaar.
Faction selection is not permanent and can be changed at any time, so feel free to swap if your choice does not fit your style. However, keep in mind that certain items acquired while belonging to a specific faction cannot be equipped if you switch factions.
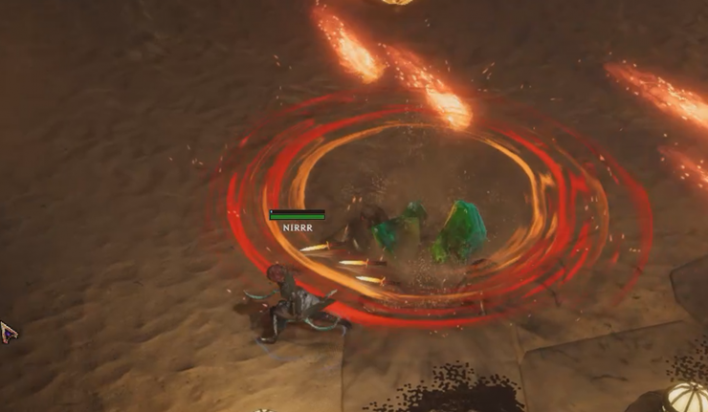
At the end of Act 9, you encounter the second major wall: the boss Majasa. While Lagon tested movement skill management and dodging, Majasa tests the overall balance between your character's offense and defense.
It is best to continuously destroy the essences Majasa summons, and you must dodge her AoE attacks telegraphed in red at all costs, as they can inflict lethal damage.
Once you deplete her health bar, Phase 2 begins with Majasa restored to 100% health, so do not let your guard down. Unlike Phase 1, she relentlessly chases you down with rapid, heavy melee multi-hit combos and tail sweeps. You need sufficient defensive stats to clear this encounter, so check your character thoroughly.
Stuck on Majasa?① Check core survival stats like Health and Resistances.
② Save movement skills to dodge lethal telegraph patterns.
③ If you are still struggling, check if your belt offers too few potion slots and consider replacing it.
② Save movement skills to dodge lethal telegraph patterns.
③ If you are still struggling, check if your belt offers too few potion slots and consider replacing it.
STEP 06
Act 10 - To the Ancient Era, the Final Stage of the Campaign
Act 10 is currently the final chapter in Last Epoch's campaign. While it is not considered as notorious an obstacle as the previous bosses, it marks the end of the campaign, leading to battles against various bosses like Apophis and the Draal Queen.
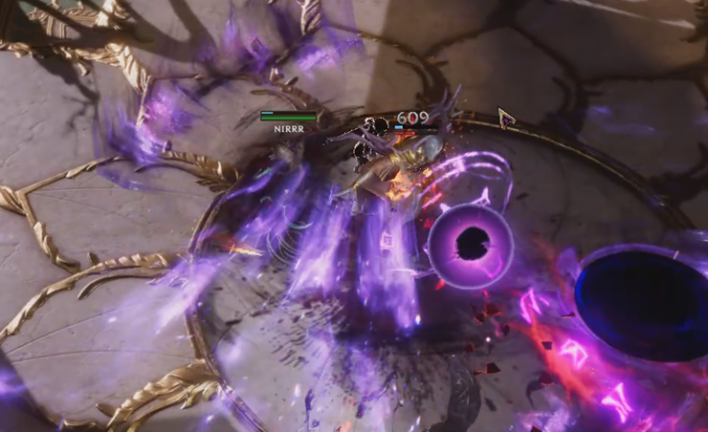
In particular, the final boss of Act 10, 'The Observer,' requires you to endure a barrage of diverse projectiles and chaotic ground-targeted attacks. The quest tooltip reads 'Survive the Madness of the Observer,' which might make you think it is a survival objective, but it is actually a boss fight where you must defeat The Observer, so do not get confused.
You do not need to finish the full campaign to enter the endgame, but clearing Acts 9 and 10 fulfills certain requirements that streamline late endgame progression.
Quick Checklist Before Entering Endgame□ Are any skill specialization points wasted on your main skills?
□ Have you overinvested in unused passives?
□ Have you collected enough passive point quest rewards?
□ Have you unlocked enough Idol slots?
□ Are your Health and key Resistances too low?
□ Have you overinvested in unused passives?
□ Have you collected enough passive point quest rewards?
□ Have you unlocked enough Idol slots?
□ Are your Health and key Resistances too low?
STEP 07
Standard Monolith - Conquer Timelines Through Echoes
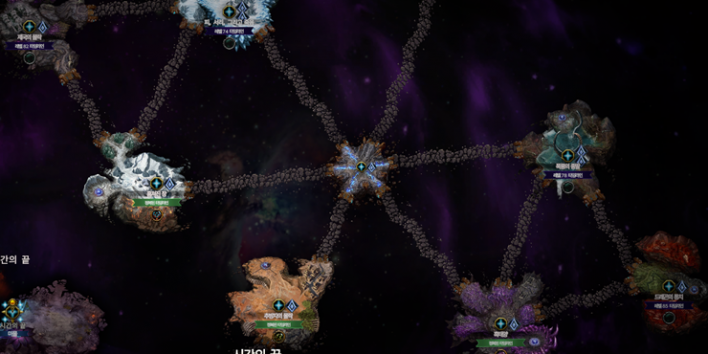
The Monolith of Fate is Last Epoch's flagship endgame system. Accessible from The End of Time, it consists of various themed Timelines.
A Timeline comprises numerous small combat zones called Echoes. Clearing Echoes earns Stability, which fills the gauge at the top of the Timeline interface. Once you accumulate enough Stability, the Timeline's boss encounter unlocks. Defeating the boss grants a Blessing for that Timeline—a permanent buff that increases character stats or item drop rates.
Initially, seven Timelines ranging from Level 62 to Level 85 are available. Completing the 'Knowledge of Orobyss' quest opens up Level 90 Timelines.
Select Timeline
▼
Select Echo▼
Clear Echo → Gain Stability
▼
Reach Required Stability → Unlock Quest Echoes & Timeline Boss
▼
Defeat Timeline Boss
▼
Obtain Blessing
STEP 08
Empowered Monoliths - Defeat the Harbinger to Begin the True Endgame
After unlocking the Level 90 Timelines through Knowledge of Orobyss and defeating a Level 90 Timeline boss for the first time, you will face your first Harbinger. Defeating this first Harbinger unlocks Empowered Monoliths and 'The Forgotten Knights' endgame faction, marking the official start of Last Epoch's true endgame and best-in-slot gear farming.
Empowered Monoliths introduce Corruption; as Corruption increases, enemies grow stronger and rewards scale up. From there, the gameplay loop revolves around farming necessary Unique items and Blessings while pushing Corruption higher to tackle tougher challenges. Reaching this point means your early game character progression is essentially complete.
Test how high your build can push Corruption, and once satisfied, try creating a new character to experiment with another build.
What Happens in Empowered Monoliths?
· Monsters feature much stronger stats.· Increasing Corruption scales up both difficulty and rewards.· Target-farm Empowered Monolith-exclusive boss Uniques.· Farm higher-tier Blessings.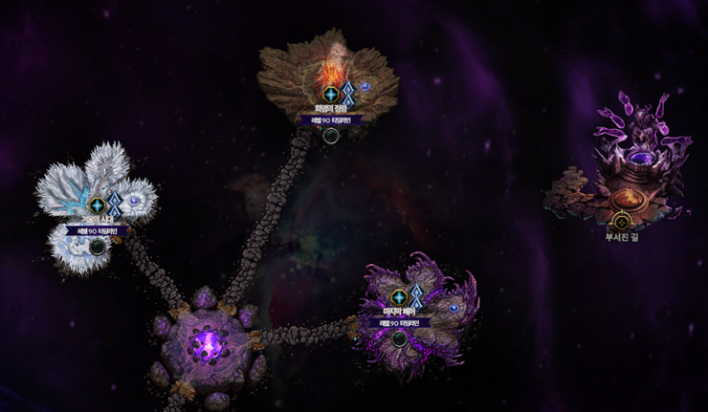
Originally written in Korean, this article was translated with AI assistance and edited by a native English-speaking editor. Every translation is reviewed by our editorial team before publication.
[Read Original]