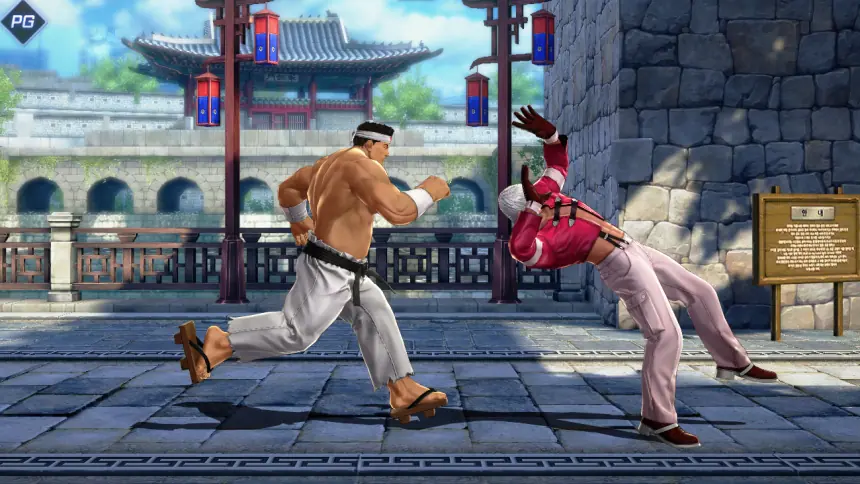
The best counter fighter with great attack stats
Goro has 4,080 ATK, which is one of the best, and the damage of his skills are also quite high. His true strength shows when you play skill-centric as a grapple-style fighter rather than using your basic attacks. The judgment of the grapple skills and his charging ability is great, so you can drive into your opponent with power.
However, to attack properly, you must get close to your opponent. Since his DEF is on the low side, if you’re exposed to a combo, you have to suffer a big HP loss. That being said, you need to use your dodge well, and you have to counter the opponent’s attacks based on guarding them.

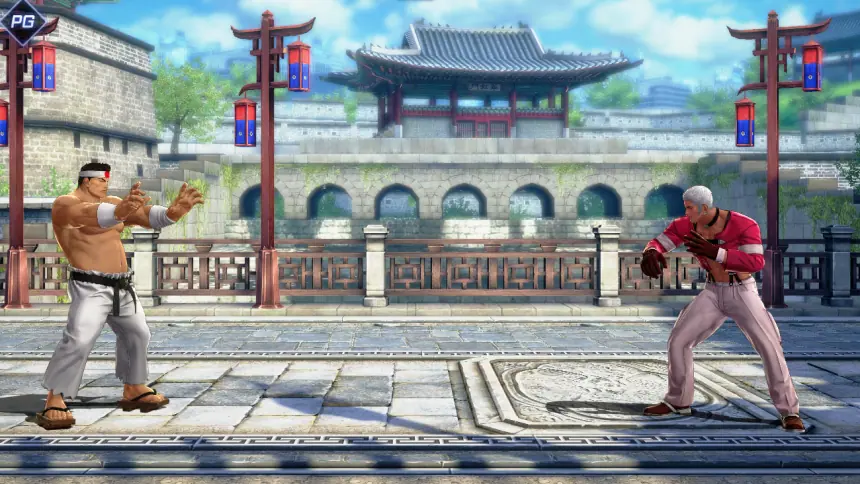
Make your opponent dodge — in-depth analysis of the ‘basic attack’
Counter difficulty between 1st-2nd strike: Basic attack, all skill attacks - easy
Counter difficulty between 2nd-3rd strike, 3rd-4th strike: Basic attack, all skill attacks - very easy
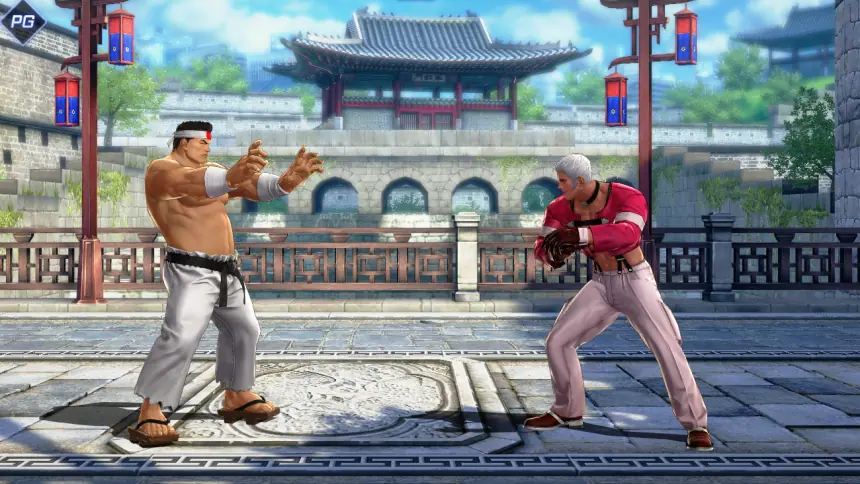
| Jab (1st) → Low kick (2nd) → Straight punch (3rd) → Upper strike (4th) |

Goro’s basic attacks are just plain attacks that have a paralysis effect on the 1st-3rd strikes and an airborne effect on the 4th strike. He slightly moves forward during the basic attacks, so if you hit the 1st strike, you can connect easily up to the last strike.
|
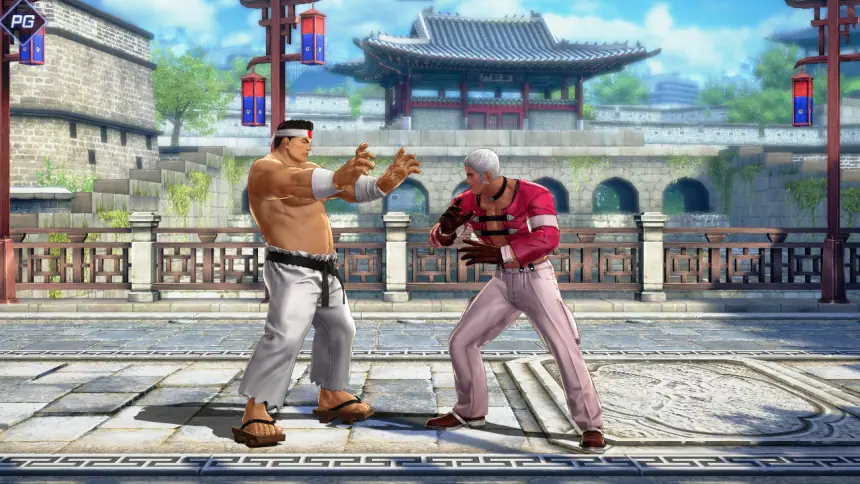
- A normal airborne effect on 4th strike - 2nd-4th strike can hit an opponent that’s knocked down - When hitting an airborne opponent, it’s difficult to connect combos cleanly with basic attacks |
The biggest weakness is that the basic attacks are slow, so if the opponent is guarding, you can easily fall to a counter. If the opponent is guarding, it’s better to use a grapple skill after just connecting 1-2 strikes. If you try to overextend and connect more basic attacks when the opponent is guarding, they can counter you, and you’ll lose the initiative. If your skills are on cooldown, try to keep a safe distance and observe how the game flows.
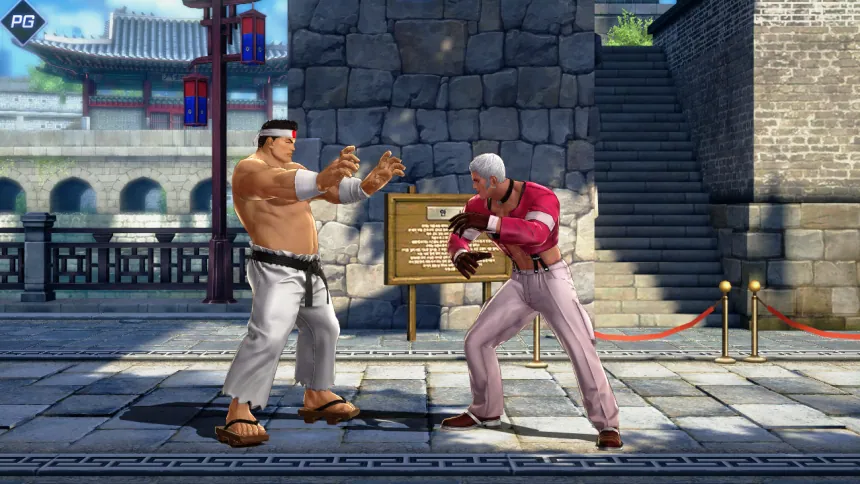
It’s not a good choice to use basic attacks on opponents that are airborne. This rather allows a chance for the opponent to get away. When you’re not used to playing Goro, it is safer to connect skills with skills without any basic attacks.

Example of using ‘basic attacks’ in actual fights
Counter difficulty between 1st-2nd strike: Basic attack, all skill attacks - easy
Counter difficulty between 2nd-3rd strike, 3rd-4th strike: Basic attack, all skill attacks - very easy
|
- If the opponent uses emergency dodge, connect just 1-3 strikes - The best way is to pursue the opponent with Q(Jiraishin) or W(Kumo-Tsukami Nage) - However, if the opponent uses emergency dodge backward, you can’t catch up with them |
In-depth analysis of the Q skill — Jiraishin
Uncounterable (Guardable)
|
- Strike lands if opponent is within 60% of the screen (Guardable) - Can neutralize blast attacks, can hit knocked down opponents - Airborne effect (Can’t use emergency dodge) - Airborne height is low, so only 1 basic attack can be connected - The hit judgment is wide, so it’s useful when pursuing an opponent that tries to dodge forward or backward |
The area of effect is wider than it seems, and it even has an airborne effect, but if you’re too far away from the opponent, you can’t connect combos. It’s best when you’re trying to approach or pursue an opponent. If you’re in close range, use just 1 basic attack after using Jiraishin, then guard first to play mind games, attempting to counter the opponent and pressure them.
Although it’s difficult to connect combos, there are more advantages to the skill. Jiraishin can neutralize blast attacks, and it hits all around Goro, so the more your opponent uses dodge, the easier you can defeat them.

Example of using Jiraishin (Q) in actual fights
Uncounterable (Guardable)
|
- Can be used to attack first - Try to counter an opponent who uses blast attacks from afar - If it’s too far away from opponent, combos can’t be connected, so it is important to approach opponent after using - There’s a strike attack before and after the skill, so it can be used to counter the opponent’s dodge - The hit location is low, so it doesn’t hit when used right after escape |
To Goro, who has to maintain a moderately close distance from the opponent, Jiraishin is very important. It has a wide hit range and the ability to neutralize blast attacks, so it’s often used to neutralize the opponent’s attacks or to contain your opponents. It is also good to use to close the distance between you and the opponent. If you use it wisely, you can destroy the close-range combat mind game. However, if you use it right after escape, you would waste the skill, so you need to be careful.


In-depth analysis of the W skill — Kumo-Tsukami Nage
Counter difficulty between strike and grapple: Basic attack, quick skills - difficult / Slow skills - very difficult
|
- 1 strike while moving forward, then grapples opponent and pounds them into the ground on the other side - Airborne effect on strike attack (Emergency dodge unusable) - Airborne effect on grapple attack (Emergency dodge unusable) - If you cancel between strike and grapple, the opponent is in a standing state - There is a small gap between the charging strike and grapple, so you can be countered (Very difficult) |
The Kumo-Tsukami Nage moves quite a long distance forward, so it’s good to pursue a dodging opponent and those who are trying to get away. Since both strike and grapple motions have airborne effects, you can easily connect your combos.
However, for the grapple attack to activate, you have to reach the opponent when you moved forward to strike. This is a method to make your opponent react (usually dodge) differently from guarding. You can also cancel before you pound them into the ground with the grapple motion to get them into a standing state, but it isn’t recommended as Goro doesn’t have a good way to induce the opponent’s emergency escape, and it’s difficult to continue following combos. Also, pounding the opponent into the ground also deals quite some damage, so you’re better off not canceling the skill.
There’s a small gap between the strike and grapple, so the opponent can counter, but this is very difficult — it’s practically impossible. It’s also very risky for the opponent, so they wouldn’t attempt to counter.
Example of using Kumo-Tsukami Nage (W) in actual fights
Counter difficulty between strike and grapple: Basic attack, quick skills - difficult / Slow skills - very difficult
|
- Can use by surprise with the long range - The start of a combo, canceling the pound to the ground motion strongly recommended - If the opponent guarded the forward strike, they can counter, but it’s very difficult and less likely - Escapable between the strike and grapple motion (very important) |
It has a long range, but the long pre-delay and slow charging speed make it difficult to use alone unless by surprise. If the opponent is a skilled player, they won’t give you the initiative by guarding and dodging. That’s why it’s important to show the opponent the danger of Jiraishin. If the opponent tries to get out of Jiraishin’s range, you should use Kumo-Tsukami Nage. If you play mind games by guarding while keeping the opponent within the Jiraishin range, they would be heavily pressured.

In-depth analysis of the E skill — Tenshi Gaeshi
(Uncounterable)
|
- Grabs opponent and pounds them to the ground, then throws them up high to make them airborne - Range is long enough to reach the opponent as soon as the fight starts - You can cancel after grabbing the opponent before pounding them to the ground - If you cancel before throwing, the opponent is in a standing state - If the opponent is hit by the end of the range, it’s guardable (About the distance of when the fight starts) |
Tenshi Gaeshi pounds the opponent to the ground and throws them far high. Since the opponent flies high up out of the screen, you need to get used to the timing to connect combos. The grapple range is longer than expected, but it is guardable if you reach the opponent at the edge of the range. Therefore, you need to be close enough to the opponent to deal damage for sure.
If you’ve grabbed the opponent, you can cancel starting from right before you pound them into the ground. If you cancel too early, you can’t deal the damage of pounding them into the ground and throwing them. Once you’ve grabbed your opponent, they can’t escape, so try to cancel slowly after the second damage is dealt.
Example of using Tenshi Gaeshi (E) in actual fights
(Uncounterable)
|
- You can pressure the opponent since you can grab them whenever in close range - If you use it when the opponent dodges, it hits 100% - Unlike general grapple moves, it’s guardable if it hits at the edge of the range - If you want to cancel, check the damage after the pound motion before you do |
Goro can contain the opponent and pressure them from mid range with Jiraishin and Kumo-Tsukami Nage. If you advance to within the range of Tenshi Gaeshi, you can attack one-sidedly as you would have the upper hand of being a grapple-type fighter. The closer you get, the opponent would have a hard time guarding. They would usually try to get away with dodge, but if you watch them and react with Tenshi Gaeshi, the opponent would overextend to get away.


In-depth analysis of the ‘finisher’ — Jigoku Gokuraku Otoshi (R)
Unescapable, invincible until Goro raises both hands
|
- Charging finisher that covers about 70% of the screen - Can secure a safe distance as the last throw goes up and far - Double finisher impossible due to long animation time |
This is an unescapable grapple-type finisher that charges forward over about 70% of the screen. You can finish off an opponent with low HP cleanly, and since you throw the opponent far away at the end, you can also secure a safe distance.

Example of using Jigoku Gokuraku Otoshi (R) in actual fights
Unescapable, invincible until Goro raises both hands
|
- Goro is invincible until he raises his hands - The opponent can escape right after he’s thrown upwards - Using Kumo-Tsukami Nage (W) to connect after finisher is recommended - It’s efficient to use MAX mode + finisher when you have 2 PGs - Since the animation time is long, you can aim for a time out win |
The opponent who’s thrown up, they’re knocked down in a state where they can’t dodge. This is when you can continue with Kumo-Tsukami Nage (W) to connect your combo. The opponent can escape and counter immediately after they’re thrown up, but Goro is invincible until he raises his hands, so you can react to how the opponent plays by guarding or dodging to regain initiative.


In-depth analysis of the ‘ultimate’ — Fuurinkazan (F)
|
- Animation of using Jiraishin and multiple grapple motions and shouting - After using the ultimate, the opponent is down within the range of Jiraishin (Q) |
Fuurinkazan is an ultimate that includes all kinds of grapple motions plus Jiraishin. Goro’s damage is big, so the total damage of the ultimate is massive as well. Fighters with low DEF would be knocked out if even they were hit before their HP bar turned red.
Example of using Fuurinkazan (F) in actual fights
|
- After the animation, the distance with the opponent is widened up to around the max range of Jiraishin (Q) - Since the opponent can move earlier, you can’t connect attacks - Using the ultimate only when you can surely K.O the opponent is recommended - If the opponent still has HP left, run forward to close the distance |
After using Fuurinkazan, the distance with the opponent is widened to about the max distance of Jiraishin. This is not welcome to Goro who has to fight from close range. The opponent can move before Goro can after the animation is over, so it’s impossible to add in more attacks. Even if you were to run forward, if the opponent dodges backward and starts to contain you, it’ll be similar to the start of a round.
Therefore, it’s best if you use Fuurinkazan when you can surely finish your opponent with it. For grapple fighters, each and every chance is precious, so it’s critical when you miss the opponent in a decisive situation.


Sort by:
Comments :0