Goddess of Victory: NIKKE launches Pick-Up banner for 4th anniversary Nikke Scarlet: Goddeath
Stronger than Marian: Queen, the ultimate Nikke reclaims the Tier 0 spot once again
An easy-to-understand breakdown of the new Nikke's kit, investment priority, and recommended teams
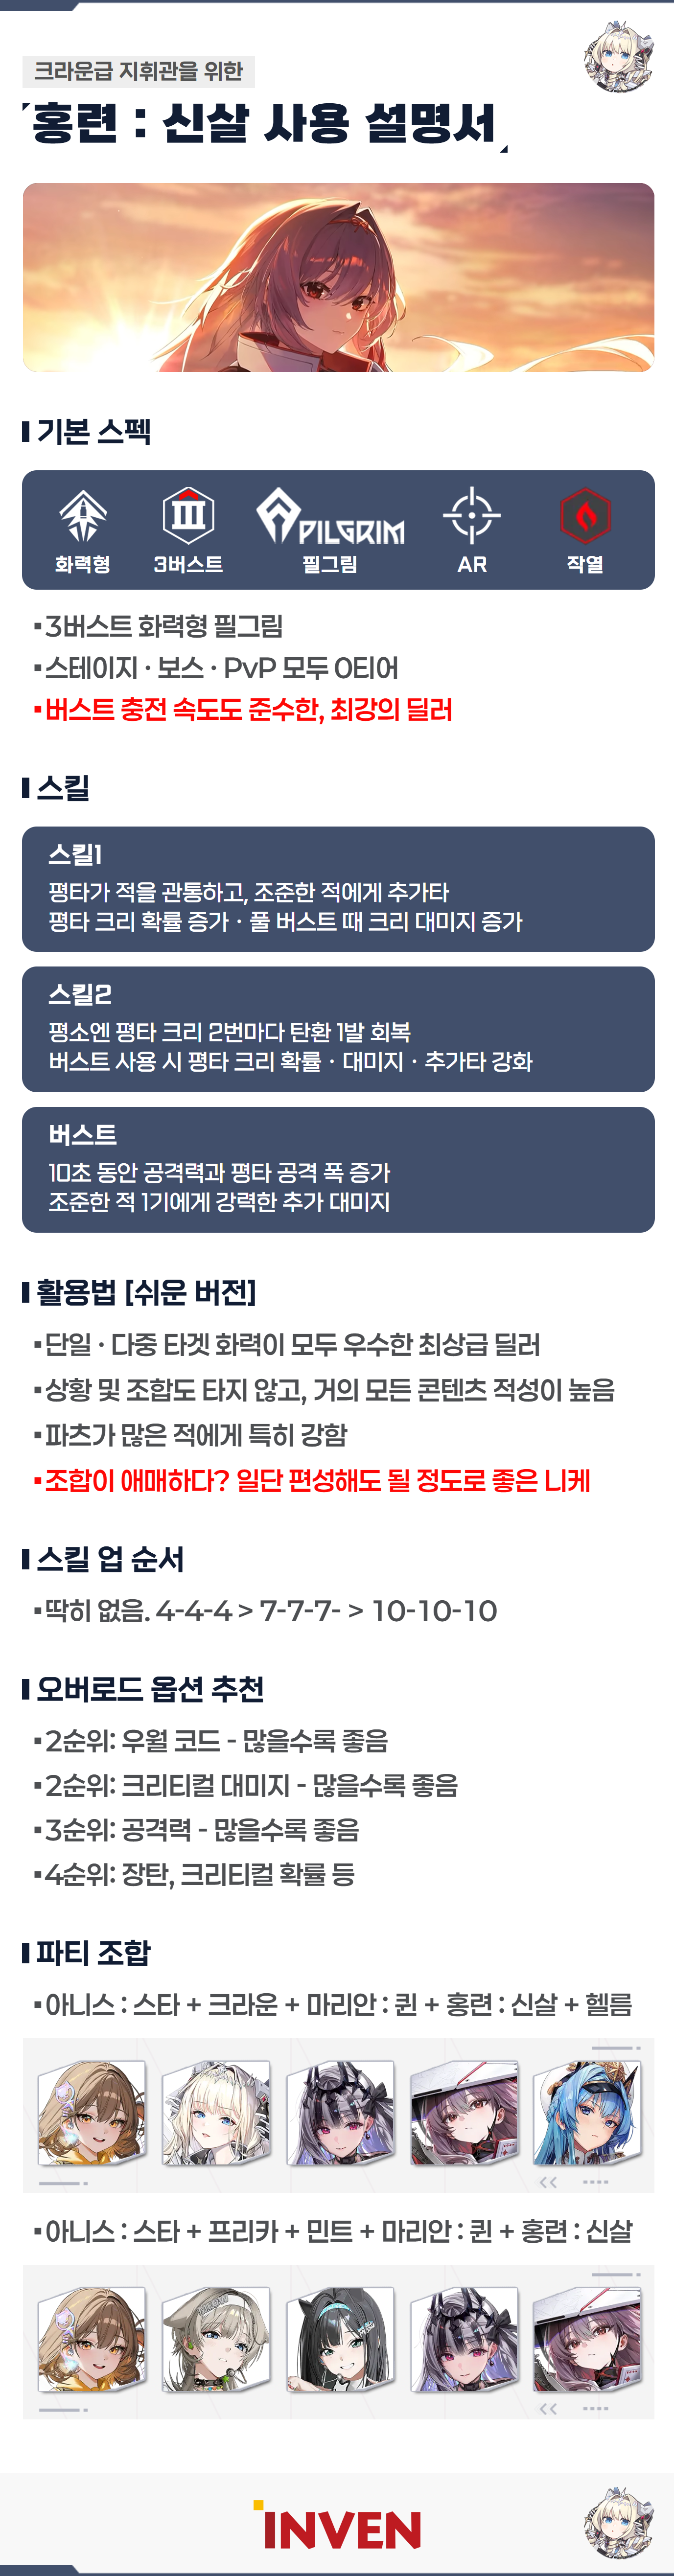
From Single Bosses to Groups of Enemies: Scarlet
To celebrate the 4th anniversary of Goddess of Victory: NIKKE, 'Scarlet: Goddeath' (Scarlet) has been added to the game. Scarlet is a Fire Code Burst III Attacker Pilgrim who uses an assault rifle (AR). Leveraging wide-range piercing attacks and additional strikes against targeted enemies, she unleashes immense firepower against both solo bosses and large groups of enemies.
Her biggest appeal lies in her high damage output and versatility. She is not heavily reliant on specific party compositions and shines especially bright against bosses with multiple destroyable parts. Her strength is remarkable: she displays firepower that surpasses even Marian: Queen, who recently claimed the Tier 0 spot. Furthermore, she can be widely used by new and returning players pushing story stages, as well as veteran players looking to bolster their main boss-fighting damage dealer. It is fair to call her the game's newest must-have Nikke.
Normal Attacks Piercing, Extra Damage on Targeted Enemy
Skill 1 grants a Pierce effect to normal attacks and deals additional damage to the single enemy closest to the crosshair. It increases the Crit Rate of normal attacks, and during Full Burst Time, it also boosts Crit Damage. The kit is structured so that wide sweeping normal attacks are backed up by single-target bonus damage.
Skill 2 normally recovers one round of ammunition whenever normal attacks land two critical hits. When she uses her Burst Skill, instead of ammo recovery, her normal attack Crit Rate and attack damage increase, while the additional attack from Skill 1 is also empowered.
Her Burst Skill empowers normal attacks for 10 seconds, increasing attack range and ATK. Upon activation, it also deals massive damage to the single enemy closest to the crosshair. The core gameplay loop involves activating the Burst Skill and continuing to fire, hitting multiple targets with the expanded attack area. While the text explanation might sound complex, the execution is simple: place her in a strong team composition and turn on Auto mode.
Especially Strong Against Enemies with Multiple Parts! Positioning and Aiming Matter
She performs admirably even when paired with existing support buffers. When playing manually, try aiming so that both the main body and its parts, or multiple enemies, fit within the attack area simultaneously. Striking multiple targets with Pierce attacks benefits not only total damage output but also Burst gauge generation.
In team builds, she synergizes well with Support Nikkes that boost ATK, Crit Damage, and Pierce Damage. Although her effective damage varies depending on enemy layout and the presence of parts, her broad utility makes her suitable for various game modes. She is expected to excel not only in PvE but also in PvP, demonstrating top-tier aptitude across all content.
Balance Skill Levels Evenly; Target Superior Code, Crit Damage, and ATK on Overload Gear
For skills, investing evenly through 4-4-4 and 7-7-7 toward a final goal of 10-10-10 is recommended. This is because her normal attacks, additional attacks, and Burst Skill buffs all directly contribute to her overall damage.
For Overload gear stats, prioritize Superior Code Damage and Crit Damage first, followed by ATK. Since her kit naturally provides a high Crit Rate on normal attacks, she makes excellent use of Crit Damage. After those, consider Max Ammo Capacity and Crit Rate. Because she possesses built-in ammo recovery mechanics, securing multiple Max Ammo lines is not strictly mandatory.
Recommended Team Compositions
#. Anis: Star - Crown - Marian: Queen - Scarlet - Helm

This setup positions Anis: Star and Crown up front, with Marian: Queen and Scarlet alternating Burst III usage. Helm is equipped with her Favorite Item to provide healing and damage support. Starting at Phase 1 of her Favorite Item, Helm heals allies with full-charge attacks, and Phase 2 enhances her attack damage buff. Helm functions as a non-Bursting stat totem in this setup.
#. Anis: Star - Prika - Mint - Marian: Queen - Scarlet
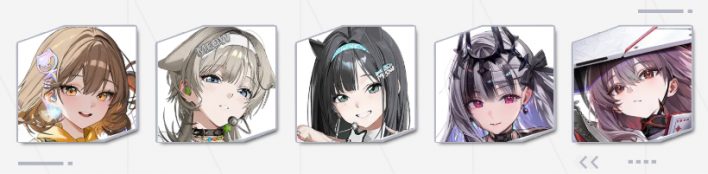
This composition utilizes the healing and buffs of Prika and Mint. Scarlet pairs exceptionally well with this team as she benefits greatly from their Pierce and Crit Damage support. Set the squad order as Prika followed by Mint. In normal execution, Prika uses her Burst Skill once at the start of combat, after which Mint handles all subsequent Burst II activations. The two damage dealers simply alternate Burst III skills.