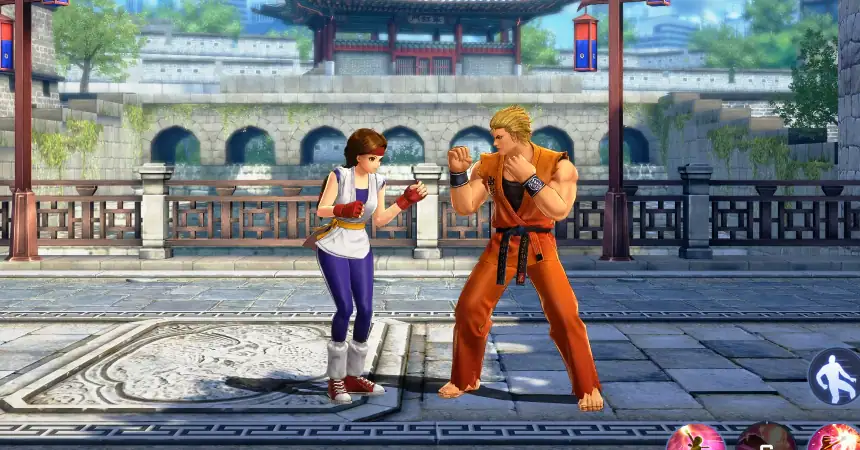
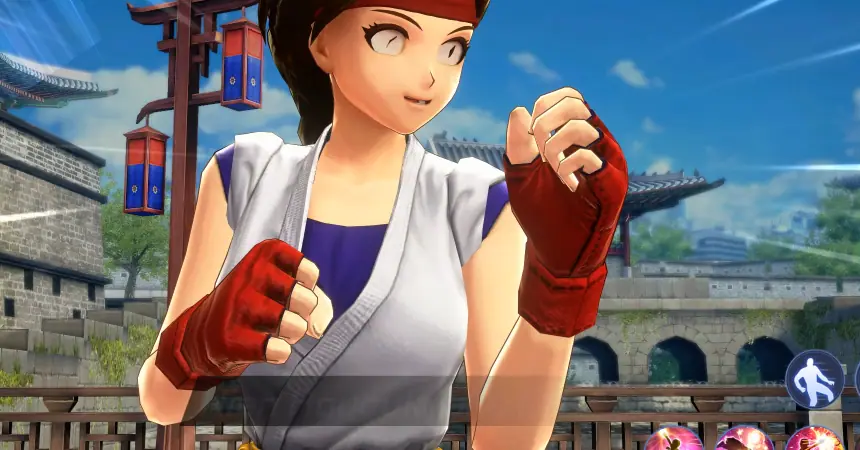
Yuri, a well-rounded fighter that excels in mind games with her slow blast attacks
Yuri’s biggest weapon is that she has a charging blast attack whose speed is controllable. Through this, you can play the mind game as you attack. Her base ATK is high at 4,101, and since you can connect a big hit combo with motion canceling, the damage is good too. After season 1 ended, the range of her dashing grapple skill was extended, so she could pressure her opponent more strongly.

In-depth analysis of the ‘basic attack’, which has great horizontal movement
|
En’yoku → Hien Souha → Saiha → Kuuga (Airborne)
※ Counterable with basic attack between 1st-4th strikes (Difficulty: Normal) |
Although the motions are rather mischievous, Yuri’s basic attacks have great horizontal movement and multiple hits per attack, so it’s good to trick the opponents. However, if the opponent knows the motions well, the counter difficulty is normal, so you need to be careful. The last 4th strike, Kuuga, has an airborne effect, so it can be used as the base of a big hit combo.


Yuri’s basic attacks have good connections with all skills, but the W skill makes a slight distance from the opponent, so you need to gain the habit of moving slightly forward before using it. If you cancel the motion of the 4th strike, Kuuga, you can continue a standing combo for a long time.

In-depth analysis of the Q skill - Ko’ouken
|
- Charging skill (MAX Charge: Haoh Shoukou Ken) - Speed of blast attack controllable according to charged amount - When charged in close range, multiple hits occur - Haoh Shoukou Ken is very fast and neutralizes other blast attacks
※ Counterable with basic attack after guarding from close range (Difficulty: Normal) |
Ko’ouken is a very important skill in conducting Yuri’s attacks. You can control the speed of the blast attack with the amount you charge. If you shoot it right away, it’s slow, so it can intimidate your opponent. If you’re far away from the opponent, you can contain them by using Haoh Shoukou Ken.


In-depth analysis of the W skill - Raikouken
|
1st strike: Neutralizes blast attacks, airborne 2nd strike: Multiple hits
※ Counterable with basic attack after guarding 1st strike (Difficulty: Normal) Counterable without guarding right before 2nd attack (Difficulty: Hard) |
Yuri hits the first strike while jumping up, and shoots a blast attack diagonally on the second strike. With Raikouken, you have to utilize its style properly. The first strike neutralizes blast attacks, so you can conduct your attacks while countering the opponent’s attacks. It’s very similar to Athena’s W skill, Phoenix Arrow EX. Since the skill moves slightly forward, it’s good to connect combos, and it’s also efficient when attacking an opponent from mid range.


In-depth analysis of the E skill - Hyakuretsu Binta EX
|
Dash → Strike → Grapple (Strike) → Exra strike (Airborne)
※ Counterable with basic attack between the strike and grapple attack (Difficulty: Hard) ※ Emergency dodge possible after grapple strike, before the extra strike |
There are three strike judgments for Hyakuretsu Binta EX, whose dash distance increased after season 1. There’s one strike after the dash, multiple strikes after the grapple, and an extra strike afterward. Since the dash and grapple attacks are connected quickly, followed by multiple strikes, it’s difficult to counter after seeing it. However, before the extra strike occurs, the grapple judgment is released for a split second, so opponents can use emergency dodge.
Compared to other dashing grapple attacks like Kyo’s or Iori’s, the dash distance and speed isn’t as good. If you use it from too far, you stop right in front of the opponent, so it’s better to use it from mid range or as a combo connection. If the opponent’s emergency dodge is on cooldown, you can connect basic attacks after canceling the extra strike to continue your combo.


In-depth analysis of the finisher - Hien Hououkayku (R)
|
- Attack barrage style - Airborne effect on the last blast attack - Blast attack can be canceled
※ Escape + Emergency dodge can be used freely |
Finishers that have a barrage of attacks have high combo damage due to their multiple hits, but they can be easily avoided with escape + emergency dodge, so you must use it when the opponent’s escape is on cooldown. The animation finishes with multiple kicks followed by a blast attack, but the blast attack can be canceled. If you used the finisher in MAX mode, cancel the blast attack and follow it up by using Ko’ouken (Q) → Hyakuretsu Binta EX (E) → Raikouken (W).


In-depth analysis of the ultimate - Ryuuko Ranbu EX (F)
|
- Long 11-second animation - Damage animation lasts for about 8 seconds - Big damage on first and last attack - Double blast combo possible (MAX mode → Ko’ouken → Ryuuko Ranbu EX → Ko’ouken) |
Ryuuko Ranbu EX is good to aim for time over wins using its very long animation time. Since the damage is mostly focused on the first and last attacks, you need to calculate the time precisely. After the ultimate, the distance from the opponent is close enough to be hit by their escape, so you should gain priority after the ultimate by using a double blast attack combo.


Whether you have emergency dodge or not! - Yuri’s unblockable combo
|
Hyakuretsu Binta EX (E, cancel last attack) → Raikouken (W) → Forward roll (S) → En’yoku (A1) → Ko’ouken (Q) → En’yoku (A1) → Hien Souha (A2) |
If the opponent has emergency dodge, it’s effective to start an airborne combo with Hyakuretsu Binta EX, since there’s no other way to avoid it besides escape. The key is to cancel the last attack of Hyakuretsu Binta EX with Raikouken and cancel the second hit of Raikouken by rolling forward.

Yuri’s unavoidable ‘death combo’
|
En'yoku (A1) → Hien Souha (A2) → Saiha (A3) → Kuuga (A4, Motion cancel) → Ko'ouken (Q) → En'yoku (A1) → Hien Souha (A2) → Saiha (A3) → Kuuga (A4, Motion cancel) → Hyakuretsu Binta EX (E, last hit cancel) → En'yoku (A1) → Hien Souha (A2) → Saiha (A3) → Kuuga (A4, Motion cancel) → Raikouken (W) → Roll forward (S) → En'yoku (A1) → Hien Souha (A2) |
The key to the death combo, which is possible when the opponent’s emergency dodge is on cooldown, is canceling the motion of the 4th basic attack, Kuuga, and canceling the last hit of Hyakuretsu Binta EX. You can’t connect an infinite combo with the airborne effect of the 2nd strike of Raikouken, so use it as late as you can according to the opponent’s defensive skill cooldowns.
If all of your other skills are on cooldown, you can earn some time using the multiple hits of charging Ko’ouken. If you use Haoh Shokou Ken by charging up to MAX, the opponent gets flung away, so you need to connect skills instead of basic attacks to continue your combo.


Sort by:
Comments :0