In the first part of our Beginner's Guide to Valheim (and how to survive The Meadows), we covered some of the fundamentals of the game, including stamina management, gathering resources, and what to do when you die.
In the second part below, we dive deeper into some of the essentials in Valheim: crafting equipment, building houses, hunting, and how to kill the first boss in the game — Eikthyr.
Craft an axe and get wood
The first thing you should do is craft a stone axe to aid you in collecting wood and building your first base. To do so you will need 5x wood and 4x stone. At this stage in the game, wood can be acquired either by finding broken branches on the floor or by breaking smaller beech trees with your fist. Stones can be found scattered throughout the world on the floor.

Upon collecting these ingredients, proceed to chop down the larger trees to accumulate more wood to complete your beginning toolsets.
BE CAREFUL, TREES ARE NOT YOUR FRIEND!
In fact, in my experience trees are probably the most deadly thing during the early game experience. There are seemingly so many variables that set off which directions the tree will come crashing down. It genuinely seems like the game is designed to send those suckers right at you. So make sure you don’t get caught mindlessly slashing away at trees, for you might just find yourself dead.

Use the torch to fight off enemies
If you are attacked by any greylings or wild boar at the start before you’re able to arm yourself, don’t be afraid to use your torch as a weapon. The torch registers as a club in-game, with the added benefit of additional fire damage. Just be sure to put it away when you're not using it for it will eventually run out of flame and disappear.
Torches are one of the few items in this game that can’t be repaired. Luckily, it isn't too difficult to craft a new one if yours does fall apart, for it only takes one wood and one resin. Resin can be easily found throughout the game, the main source being from those pesky greylings that will constantly bombard you in the meadows.
Crafting guide
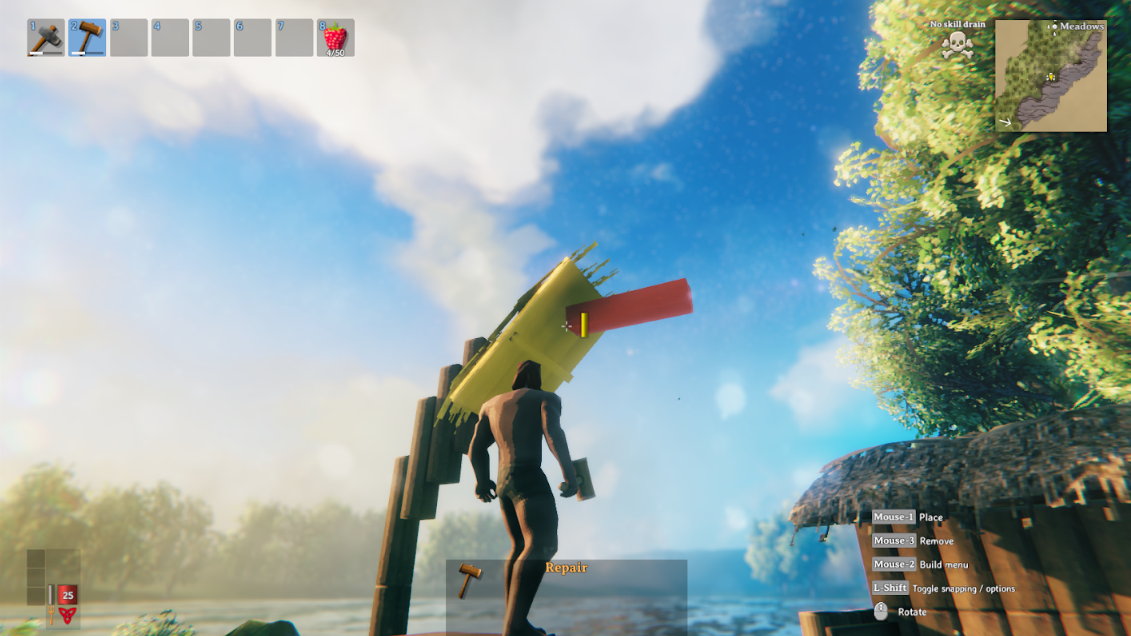
To craft, you will first need to build a workbench. Once you’ve got plenty of wood on hand, pick up a few more rocks and build yourself a hammer. Hammers are used for crafting in Valheim and will be an essential tool that you’ll almost always want in your inventory.
Now you're ready to build. Equip your hammer and right-click to open the building menu. From there, click the crafting tab, find the workbench and place it in an area you wish to build (note: The game will restrict you from building in certain places). Workbenches create a crafting radius where you are able to build. This is indicated by the circle around it when it’s being placed.

Workbenches are also essential for they allow you to craft new items and repair most early game items and armor. Repairing in Valheim doesn’t require any materials or ingredients so don't hesitate to utilize this function free of charge!
Note: to repair and or use the workbench you will need to have a roof and walls around the workbench. If you get a notification that states “station is too exposed”, that just means you need to protect it from the environment. So either build your house around your workbench, or make a quick workbench hut like so:

How to build strong structures
The game's building mechanics are surprisingly complex, and unlike other games like Minecraft, you will need to keep structural integrity in mind when building in Valheim. To get you started with the basics, you’ll want to try to find ground that is relatively flat. Or, if you want, you can craft a hoe using the workbench for 5x wood and 2x stone to perfectly level the ground yourself. If you choose this option, note that hoes will level the ground to the height of where you're standing. So stand in one spot and level everything around you, then move. Don’t start leveling as you’re running around the area — it won't work.
You can identify the structural integrity of building pieces by looking at placed items during the building process. If the item is blue, that means it's considered a foundational piece, indicating that it is connected to anything the game considered solid (such as ground). From there integrity will decrease as pieces move away from their foundations. Green symbolizes that the piece is strong, yellow is decent, and red is weak. Any building piece that is red won't be able to hold additional weight on it. There are plenty of building pieces that allow for a lot of customization, so play around with structures and have fun! Just keep in mind, your pieces will lose integrity the farther they get from foundational pieces.
How to build your first camp
Once you’ve collected a bunch of wood, it’s probably getting pretty late, so it’s time to build your first camp! Nights have increased spawns for hostile creatures, so it's best to make a shelter and sleep through them until you're armed and well-fed. I recommend always building camps relatively close to water. Not only will it make it easier to find essential ingredients such as flint and fish, but you’ll also thank me later on when ships become an essential aspect of navigating the world. However, I wouldn’t recommend building in the water, for water damages wooden structures over time. The water won't break the wood, but when monsters inevitably raid your base, your fortress will be significantly easier to destroy.
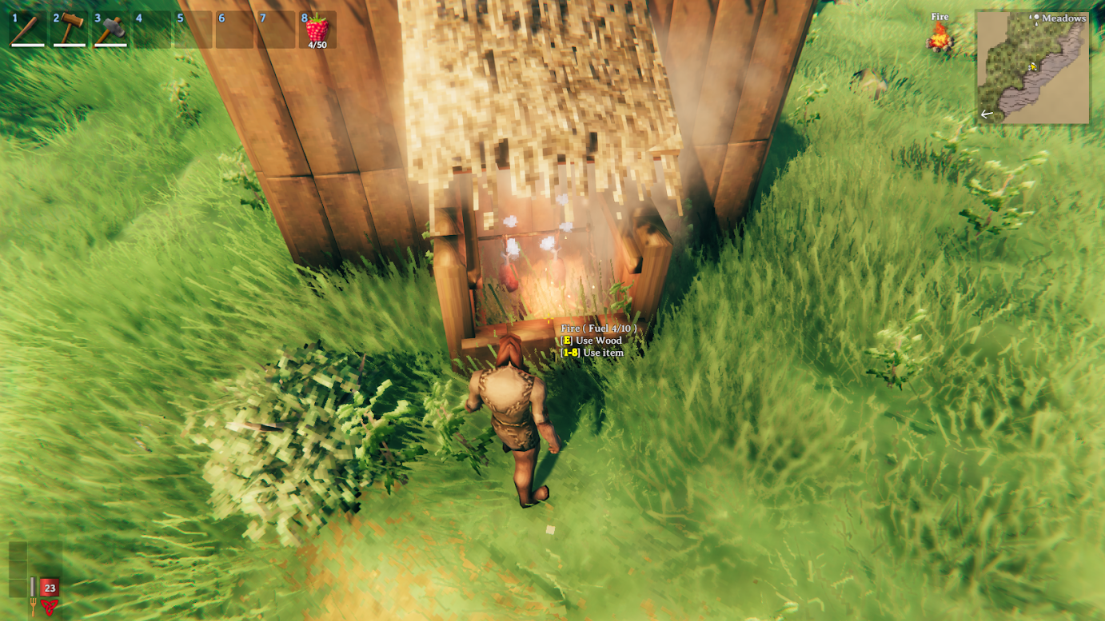
One major mistake players make when building their first camp is not venting their campfires. You will need a campfire in or near your house to sleep through the night. However, if you don’t place it properly you will take ticking damage from the build-up of smoke inside your house. I recommend placing your campfire right next to, or under a separate roof to prevent this damage.

Roof everything!
A lot of new players will make the mistake of attempting to use wooden floors for roofs to their newly built camps. I hate to break it to you, but Valheim just isn’t going to let that fly. Much like the work bench, beds also need a roof to work. On top of that, as I mentioned above, water damages wooden structures and the same goes for rain water. Luckily for us roofs provide immunity to rain damage. So if you want your structures to stay healthy, and not have to worry about constantly repairing, just spend the extra wood, and slap a roof over your buildings.
Hunting guide
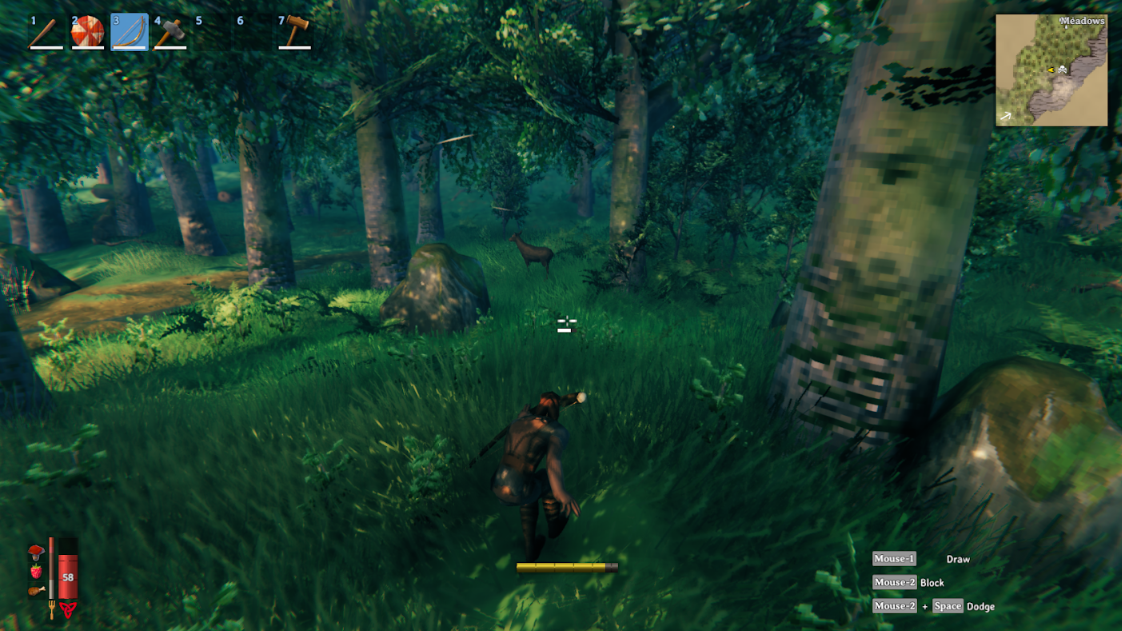
Once you’ve made your shelter it's time to start hunting! You’ll want to craft a club at this point and begin looking for boars and deers. Boars will be a lot easier to kill early on. They are also hostile so keep an eye out for them. Deer are a bit more tricky to kill without a bow, but you can sneak up on them with [ctrl] and kill them that way. You’ll probably only be able to get one deer at a time though if you happen to startle them. Deers are nimble and quick, so they aren’t worth trying to chase down.
Deers and boars have an important loot table that will help you progress through the Meadows. They will drop leather scraps which can be used to make a wide variety of things, including a shield and bow, which are critical early on.
A shield is a must-have accessory in Valheim. The ability to block can not be overstated, and a perfectly timed block will parry and leave your enemy stunned. For this reason, I recommend the regular shield over the tower shield, which can't parry. Shields are your go-to defense, and together with armor are one of the most important things to upgrade as you progress. You can craft your first shield, the Wood Shield, fairly early on for only 10 Wood, 4 Resin, and 4 Leather Scraps.
A bow is also a much-needed weapon in Valheim. The only thing better than blocking potential damage is staying far enough away so that you never get damaged at all. The long-range utility of a bow also makes it so much easier to kill with, especially those nimble deers. At distance you will get a sneak attack bonus if the enemy hasn't noticed you, allowing you to open up with major damage, or even just flat out killing the beasts. Don’t forget you will need to carry arrows on you to use your bow, the regular wood arrows will cost 8 Wood for 20 arrows.
Boards and deer both drop raw meat, which is a great source of food early to even mid/late game. Craft a cooking station over your campfire, throw on your raw meat and in a couple of seconds you’ll have yourself some freshly cooked meat. Pro tip: you can place/stack up to six cooking stations over a single campfire to increase your production!
Deers drop two additional things that you want to really keep an eye out for: deer hide, and deer trophy. Deer hide is an essential ingredient that you will need to craft leather armor, the best armor you can make in The Meadows. Deer trophies on the other hand are needed to spawn the first Forsaken boss, Eikthyr. You will need two deer trophies to summon Eikthyr, so make sure to keep those on hand.
Craft Leather Armor next
Next, you’ll want to deck yourself out in leather armor! To do so you’ll need to craft a Chopping block (which is an upgrade to your workbench). It takes 10 Wood and 10 Flint to craft. After crafting the chopping block, set out to make a leather tunic and pants. In total, leather armor will run you 12 deer hides.
You should also make a Tanning Rack, another workbench upgrade, which will allow you to upgrade your tools. Upgrading tools increases their durability so that you won't have to return to the work bench for repairs as often.
How to summon and kill Eikthyr in Valheim
Before you face Eikthyr you’ll want to be prepared for the fight. Make sure that you have full leather armor, a weapon, a shield, a bow and arrows, and plenty of food.
DON’T FORGET TO REPAIR! Head to the summoning location on your map with your two deer trophies. Eikthyr, like many bosses in Valheim, is fairly intimidating but surprisingly not that difficult.

Eikthyr only has three main attacks:
- First is a directional (front) lighting attack. This is signaled by Eikthyr rearing up and coming down releasing the attack. To avoid this, just walk behind, block or dodge as his hoofs hit the ground.
- Second is an AOE lighting attack that covers a bubble area around him. Eikthyr will rear up for a longer period of time and then slam down. Just get some distance from him by moving, blocking, or dodge right as his hoofs hit the ground.
- Lastly, he will attempt to buck you up with his antlers. This occurs if you approach head-on when Eikthyr isn’t charging up an electric attack. This attack can be dodged, blocked or even parried.
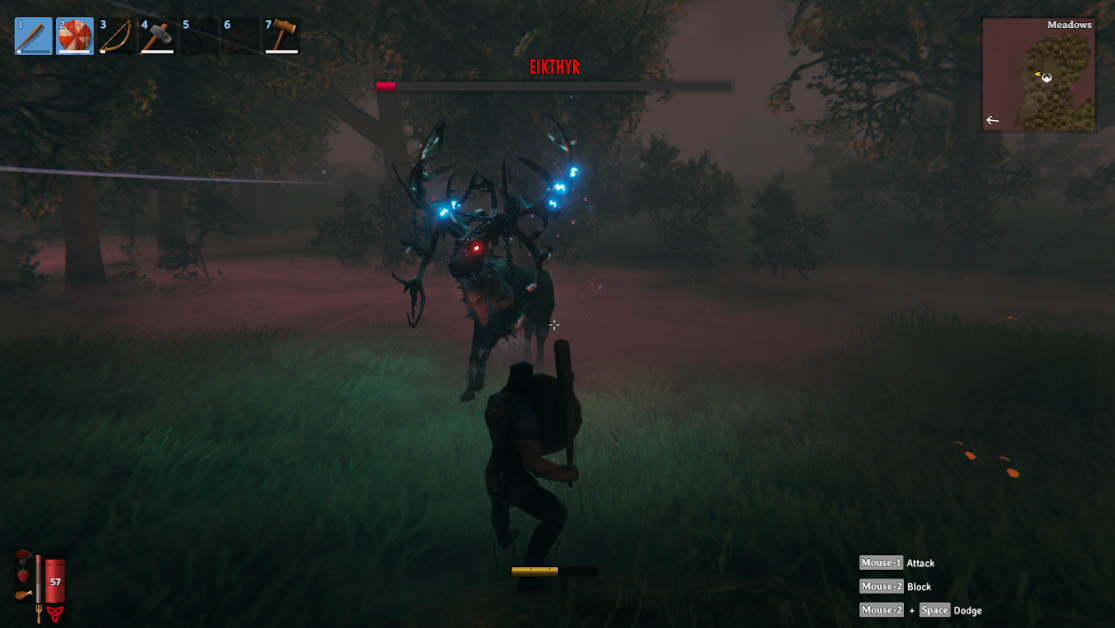
The safest strategy is to kite him around trees and stone while shooting arrows from afar. However, since you can dodge through all his attacks (when timed correctly) don’t be afraid to take him head-on. Your shield is your best friend! If you're charging in head first, just let him hit, then follow up with your own assault.
Enter the Black Forest biome
After you defeat Eikthyr you’ve essentially finished all the content in the Meadows and you're ready to head to the next biome, The Black Forest. Before you do that make sure to take the Eikthyr trophy the boss drops and attach it to the proper Sacrificial Stone, back at the starting location. This will grant you the Eikthyr Forsaken Power which temporarily reduces stamina usage while running and jumping. Be warned, Forsaken powers have a 20-minute cooldown, so use them wisely.

You should also receive hard antlers which can be used to craft an antler pickaxe at your workbench! This will allow you to mine for ore, unlock smelting, and metal tools. These are all tasks that you will undertake in the Black Forest Biome.

Sort by:
Comments :0