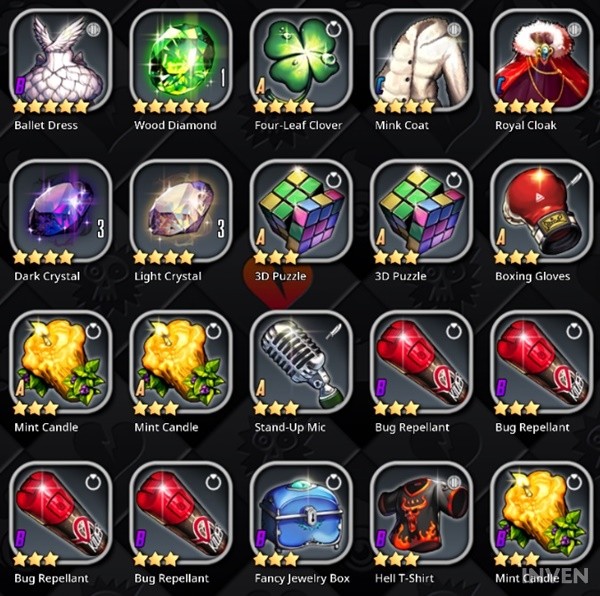
There are various items in Destiny Child. They range from 1-star to 5-star, all with different types of stats, even on the same level depending on the type of item. The same item can also be categorized into 3 grades; A, B, and C, with each grade affecting the stats of each item.
With such a large variety of items, you’ll likely wonder which items are best to equip and enhance. As each Child’s main stats are different depending on their class, it is vital to understand what gear is proper and where you can use them in order to complete an efficient gear set.
Step 1. What gear should I equip? The standards of choosing gears
Although there are many ways to obtain equipment in Destiny Child, you will naturally obtain them as you progress the game. More important than knowing where to get them is which ones to use.
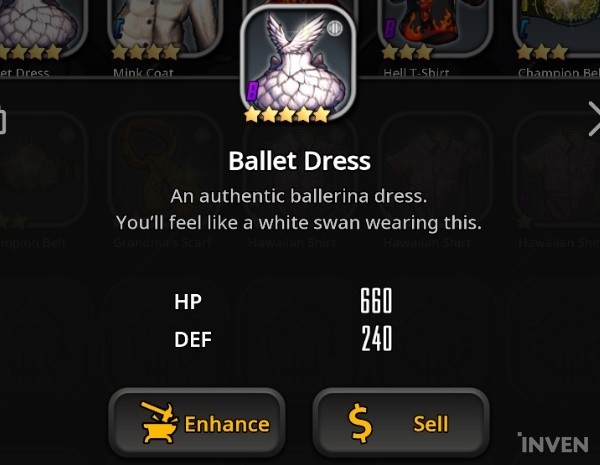
All the equipment have a variety of stats. One item may only increase one stat while another boosts two stats. Some items have a stat that is increased more than others. However, your main focus should be on finding gear that increases two stats and investing in A-grade 5-star equipment.
Item enhancement allows stats to be increased at a certain rate. For example, a B-grade Shuriken generally increases ATK by 390 while a 3-star B-grade Stand-Up Mic increases ATK by 415 and AGL by 125.
A Shuriken receives +18 ATK upon leveling up while a Stand-Up Mic receives both +26 ATK and +8 AGL. The difference becomes larger as you enhance the item further.
You don’t need to invest too much in other equipment apart from the A-grade 5-star ones. You may need a couple of enhancements to complete a few stages in the beginning, but the ultimate goal is to equip all Childs with A-grade 5-star gear. You may end up with an insufficient amount of resources to enhance them if you spend it all on low-tier items. Enhancements in Destiny Child require relatively more resources than you may anticipate, so it is important that you don’t waste them.


Step 2. Equip the most appropriate gear to change the tide of battle - Stat choices
Each class; Attacker, Defender, Debuffer, Supporter, and Healer have different stat priorities. It is crucial to understand how these stats actually work for each class, as some of them become inefficient when you increase it over a certain threshold.
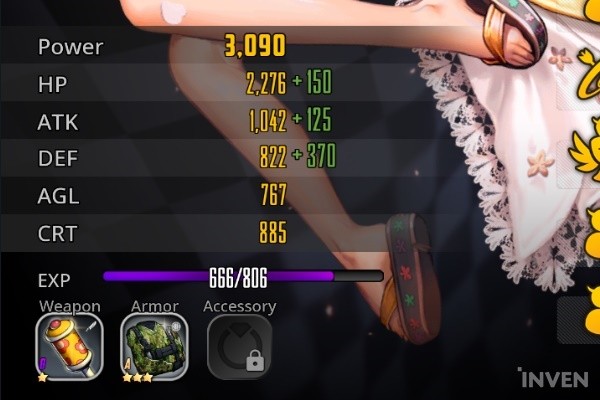
ATK affects the amount of damage dealt against enemies or the amount of healing for Healers; DEF reduces the amount of incoming damage from opponents; HP is the total amount of health; AGL impacts Attack Chance/Evasion and CC Chance/Evasion, while CRT influences the Critical Chance.
The damage reduction of additional DEF becomes drastically inefficient when it’s increased over a certain threshold, thus it is best to secure more HP past a certain point. In regards to CRT, it only increases the Critical Chance, not the damage itself; results are rather disappointing if you invest a lot in this stat. One player tested AGL and found out that AGL impacts Slide and Drive damage, but this has not been officially confirmed.
Let’s have a look at stats for each class. With Attackers, you actually have a few elements to consider. Although the most important stat without question is ATK, Attackers are usually lacking when it comes to the other stats. You should supplement these lower stats with equipment in order to bring them to their full potential.
The most recommended stat combination is ATK and AGL. Attackers are generally low on AGL, and it’s a major loss every time they miss their powerful attacks. This is why they need to have additional AGL to prevent that from happening. When they are used in Rumble, in particular, it is crucial to have more AGL equipment to kill Debuffers and Supporters who usually have higher AGL than Attackers.
You can also secure more ATK and CRT to increase the amount of burst damage, but that is not as efficient. More Critical Chance doesn’t mean that it will always activate whenever you wish, and the damage itself doesn’t change much either.
With armor, you can equip anything you prefer. You’re unlikely to hit that DEF inefficiency threshold since Attackers have low base DEF, so you can just equip anything that has high DEF.

Gear choice is considerably easy and low-priority for Defenders. Though their DEF stat can hit the inefficiency wall, Defenders don’t really need anything aside from HP and DEF. There’s no need to worry about other stats affecting abilities either, since taunt is not affected by AGL, and barrier strength is only affected by skill levels.
While they are low-priority, you shouldn’t skip out on Defender equipment. They may have strong base stats, but they can all fall if hit with enough burst damage at once. This is especially true for Defenders with taunt. So if your Defender keeps falling in Dungeons or Devil Rumble, you need to enhance their armor.
In summary, you can equip Defenders with leftover gear after giving equipment to the other classes. Once you start getting better items mid-late game, you can replace the old ones with those that boost HP with DEF as a sub stat.
A Debuffer’s main objective is to inflict debuffs on enemies and intercept their movements. While Attackers use their firepower to suppress enemies, Debuffers restrain enemies and deal damage over time (DoT) with debuffs that slowly lead them to their demise.
This class is heavily reliant upon CC skills, so AGL items are the best items for this class. The amount of debuff damage is fixed regardless of the caster’s ATK or the enemy’s DEF, therefore a combination of AGL and HP or DEF is perfect for the class, especially if the battle becomes longer than anticipated.
Debuffers who are often used for their DEF reduction and weakness DEF reduction debuffs in the World Boss help to immensely increase the survivability and overall firepower of the team.
The Critical Chance has no priority over other stats since it doesn’t affect the amount of DoT damage.

Supporters have a wide range of items they can choose from depending on what type of skillset the Child possesses. They can equip attack-based items to add more firepower or survival items to focus more on backing up the team. More AGL for Childs such as Chang’e and Melpomene increases the CC hit chance as well as attack evasion, so go for that if you want to enhance their survivability.
Buffs, the cornerstone of the Supporter class, are not impacted by stats, so you can still benefit from them without strong equipment. You can usually equip other classes first and then Supporters.
Note that you still need to equip Supporters with survivability items since the overall firepower of a team drops significantly when the Supporter dies.

CRT is the most crucial stat for Healers. The amount of healing generally increases when ATK is increased, but the incremental gap of Attackers and Debuffers’ firepower is much bigger than the Healers’.
However, it becomes a completely different story when Healers cast critical healing skills. The amount is multiplied when CRT is activated. Of course, CRT itself is reliant on RNG so you won’t always benefit from it, but many players say that it is much more beneficial to invest in CRT rather than ATK.
In addition, Healers usually possess the second-highest HP and DEF after Defenders, making it easier for them to survive. Since their survivability is already fairly good, it’s better to focus on increasing their heal potential through ATK and CRT.


Sort by:
Comments :0


